Behind-the-Scenes: How I create studio paintings
Do you ever make something that surprises you and then go back to it over and over, trying to figure out how you did it? What was it about that piece that just came together for you? How can you do it again?
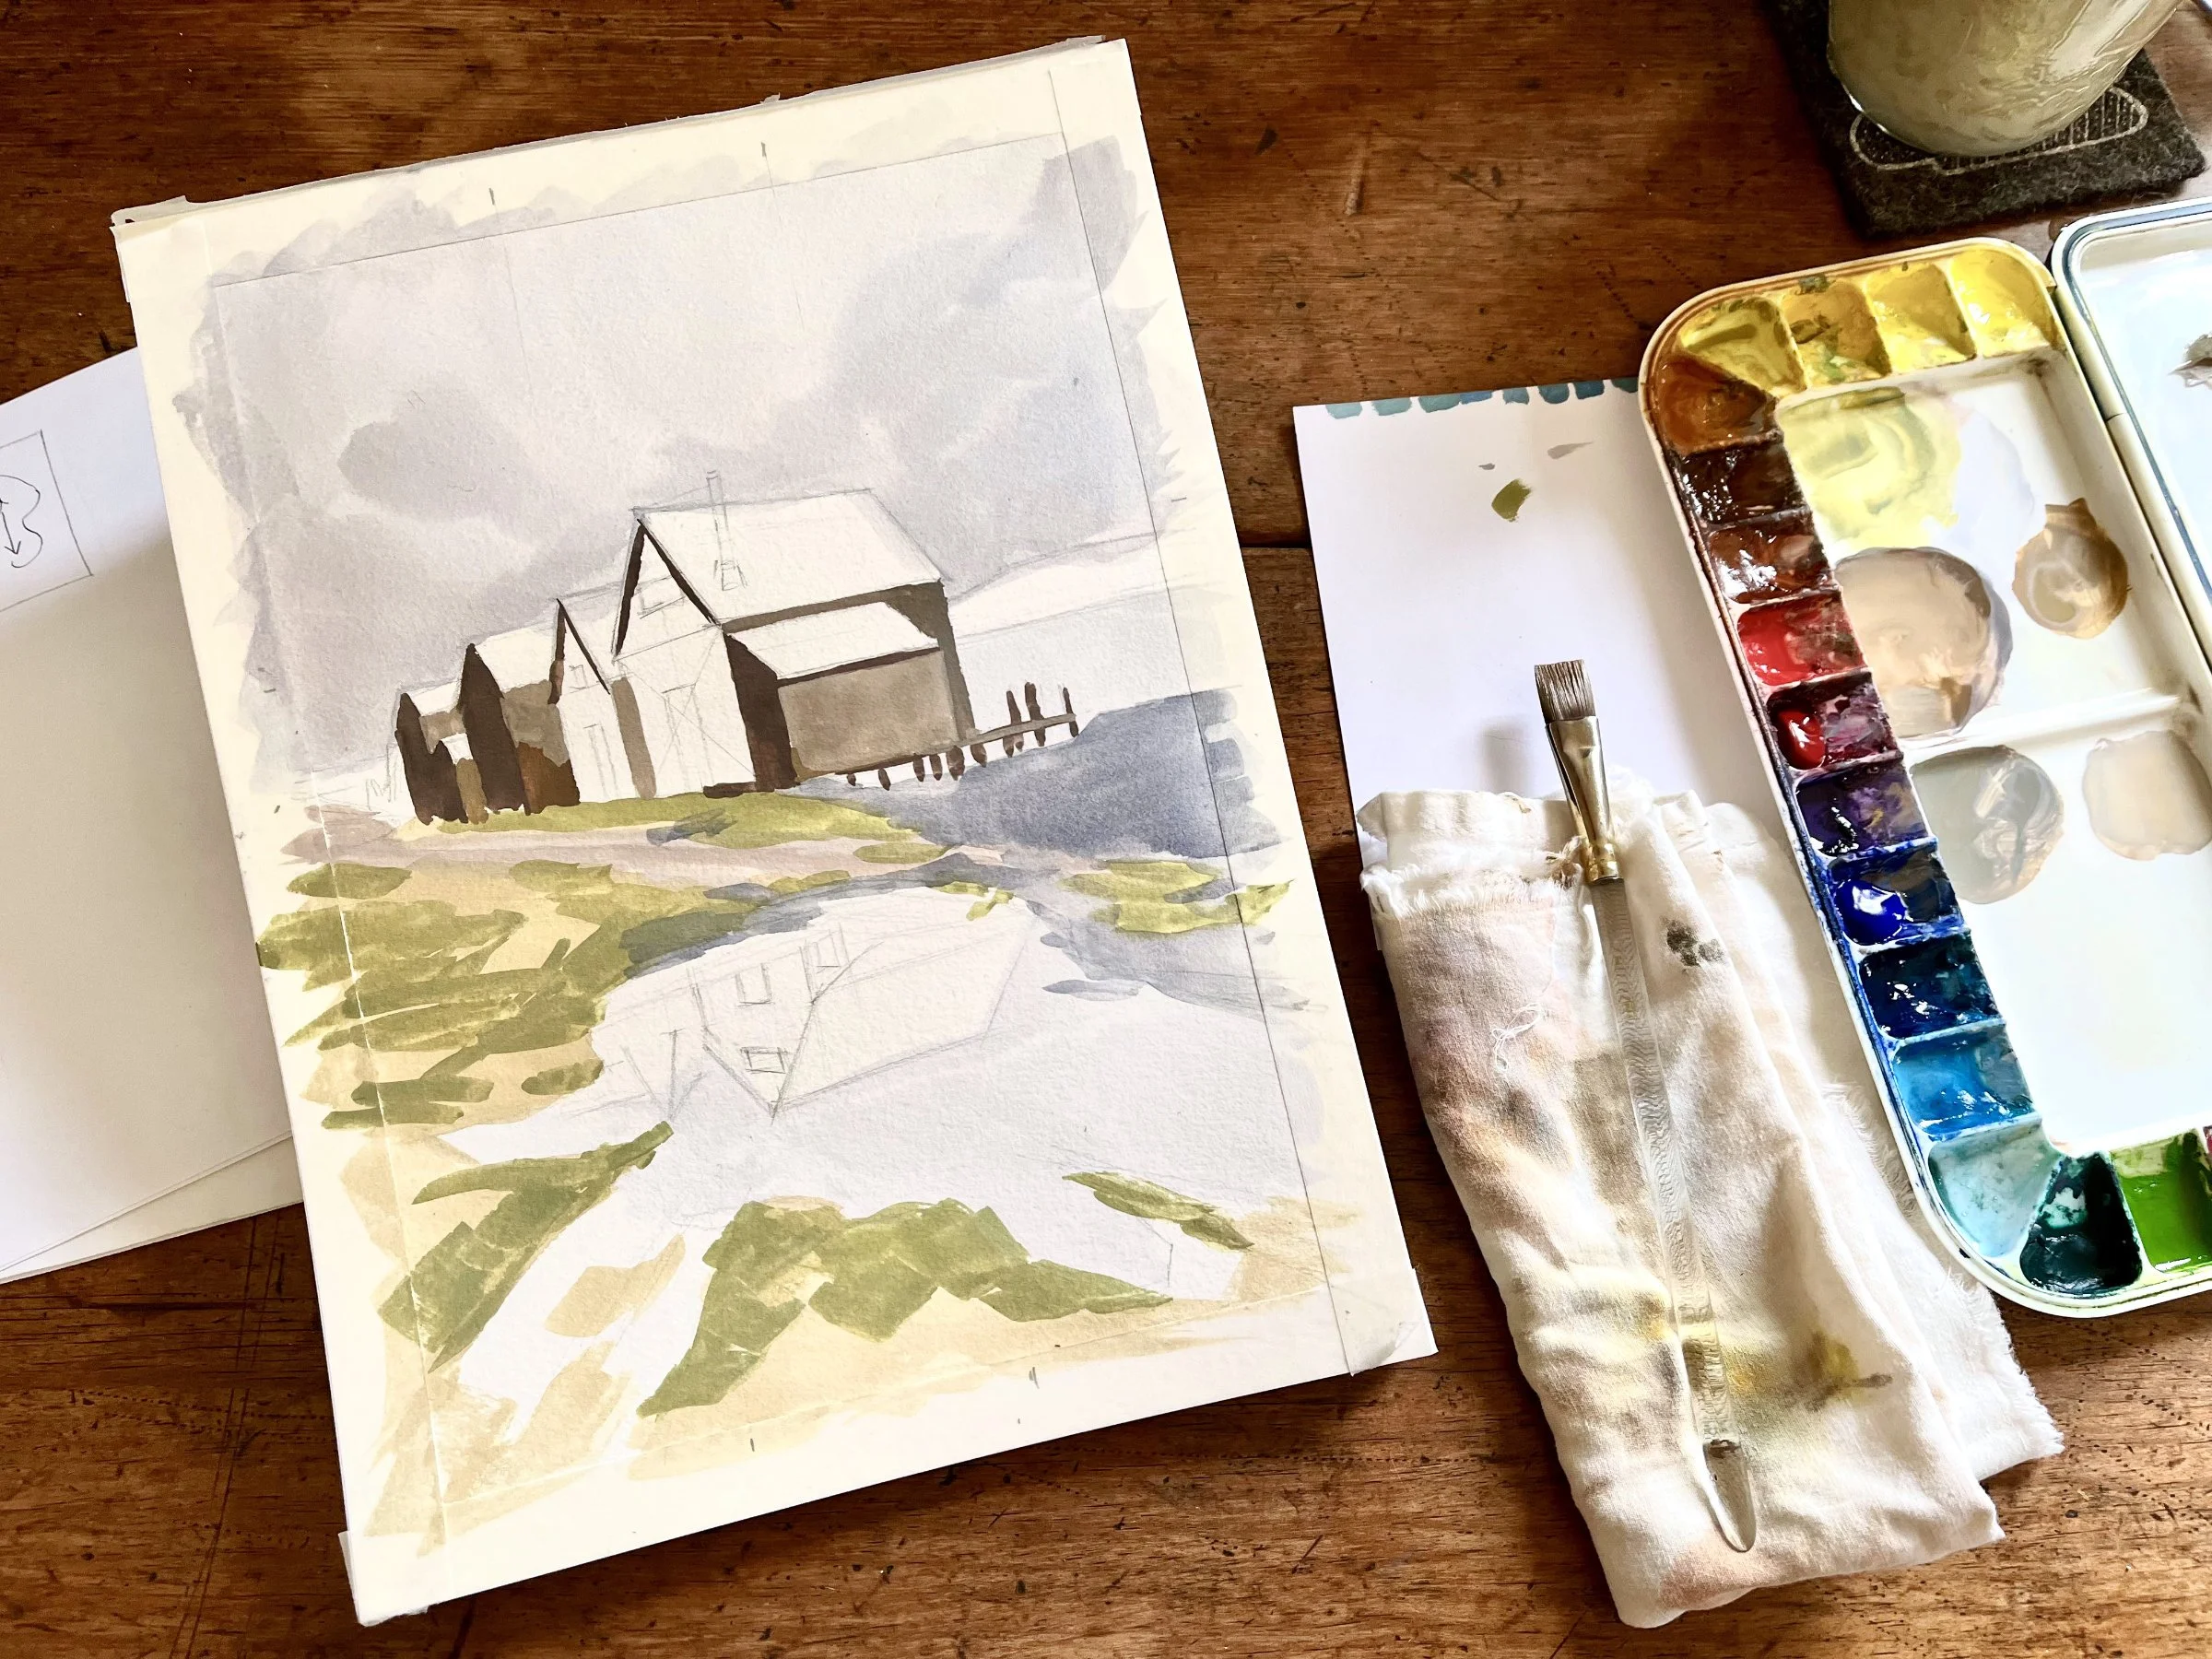
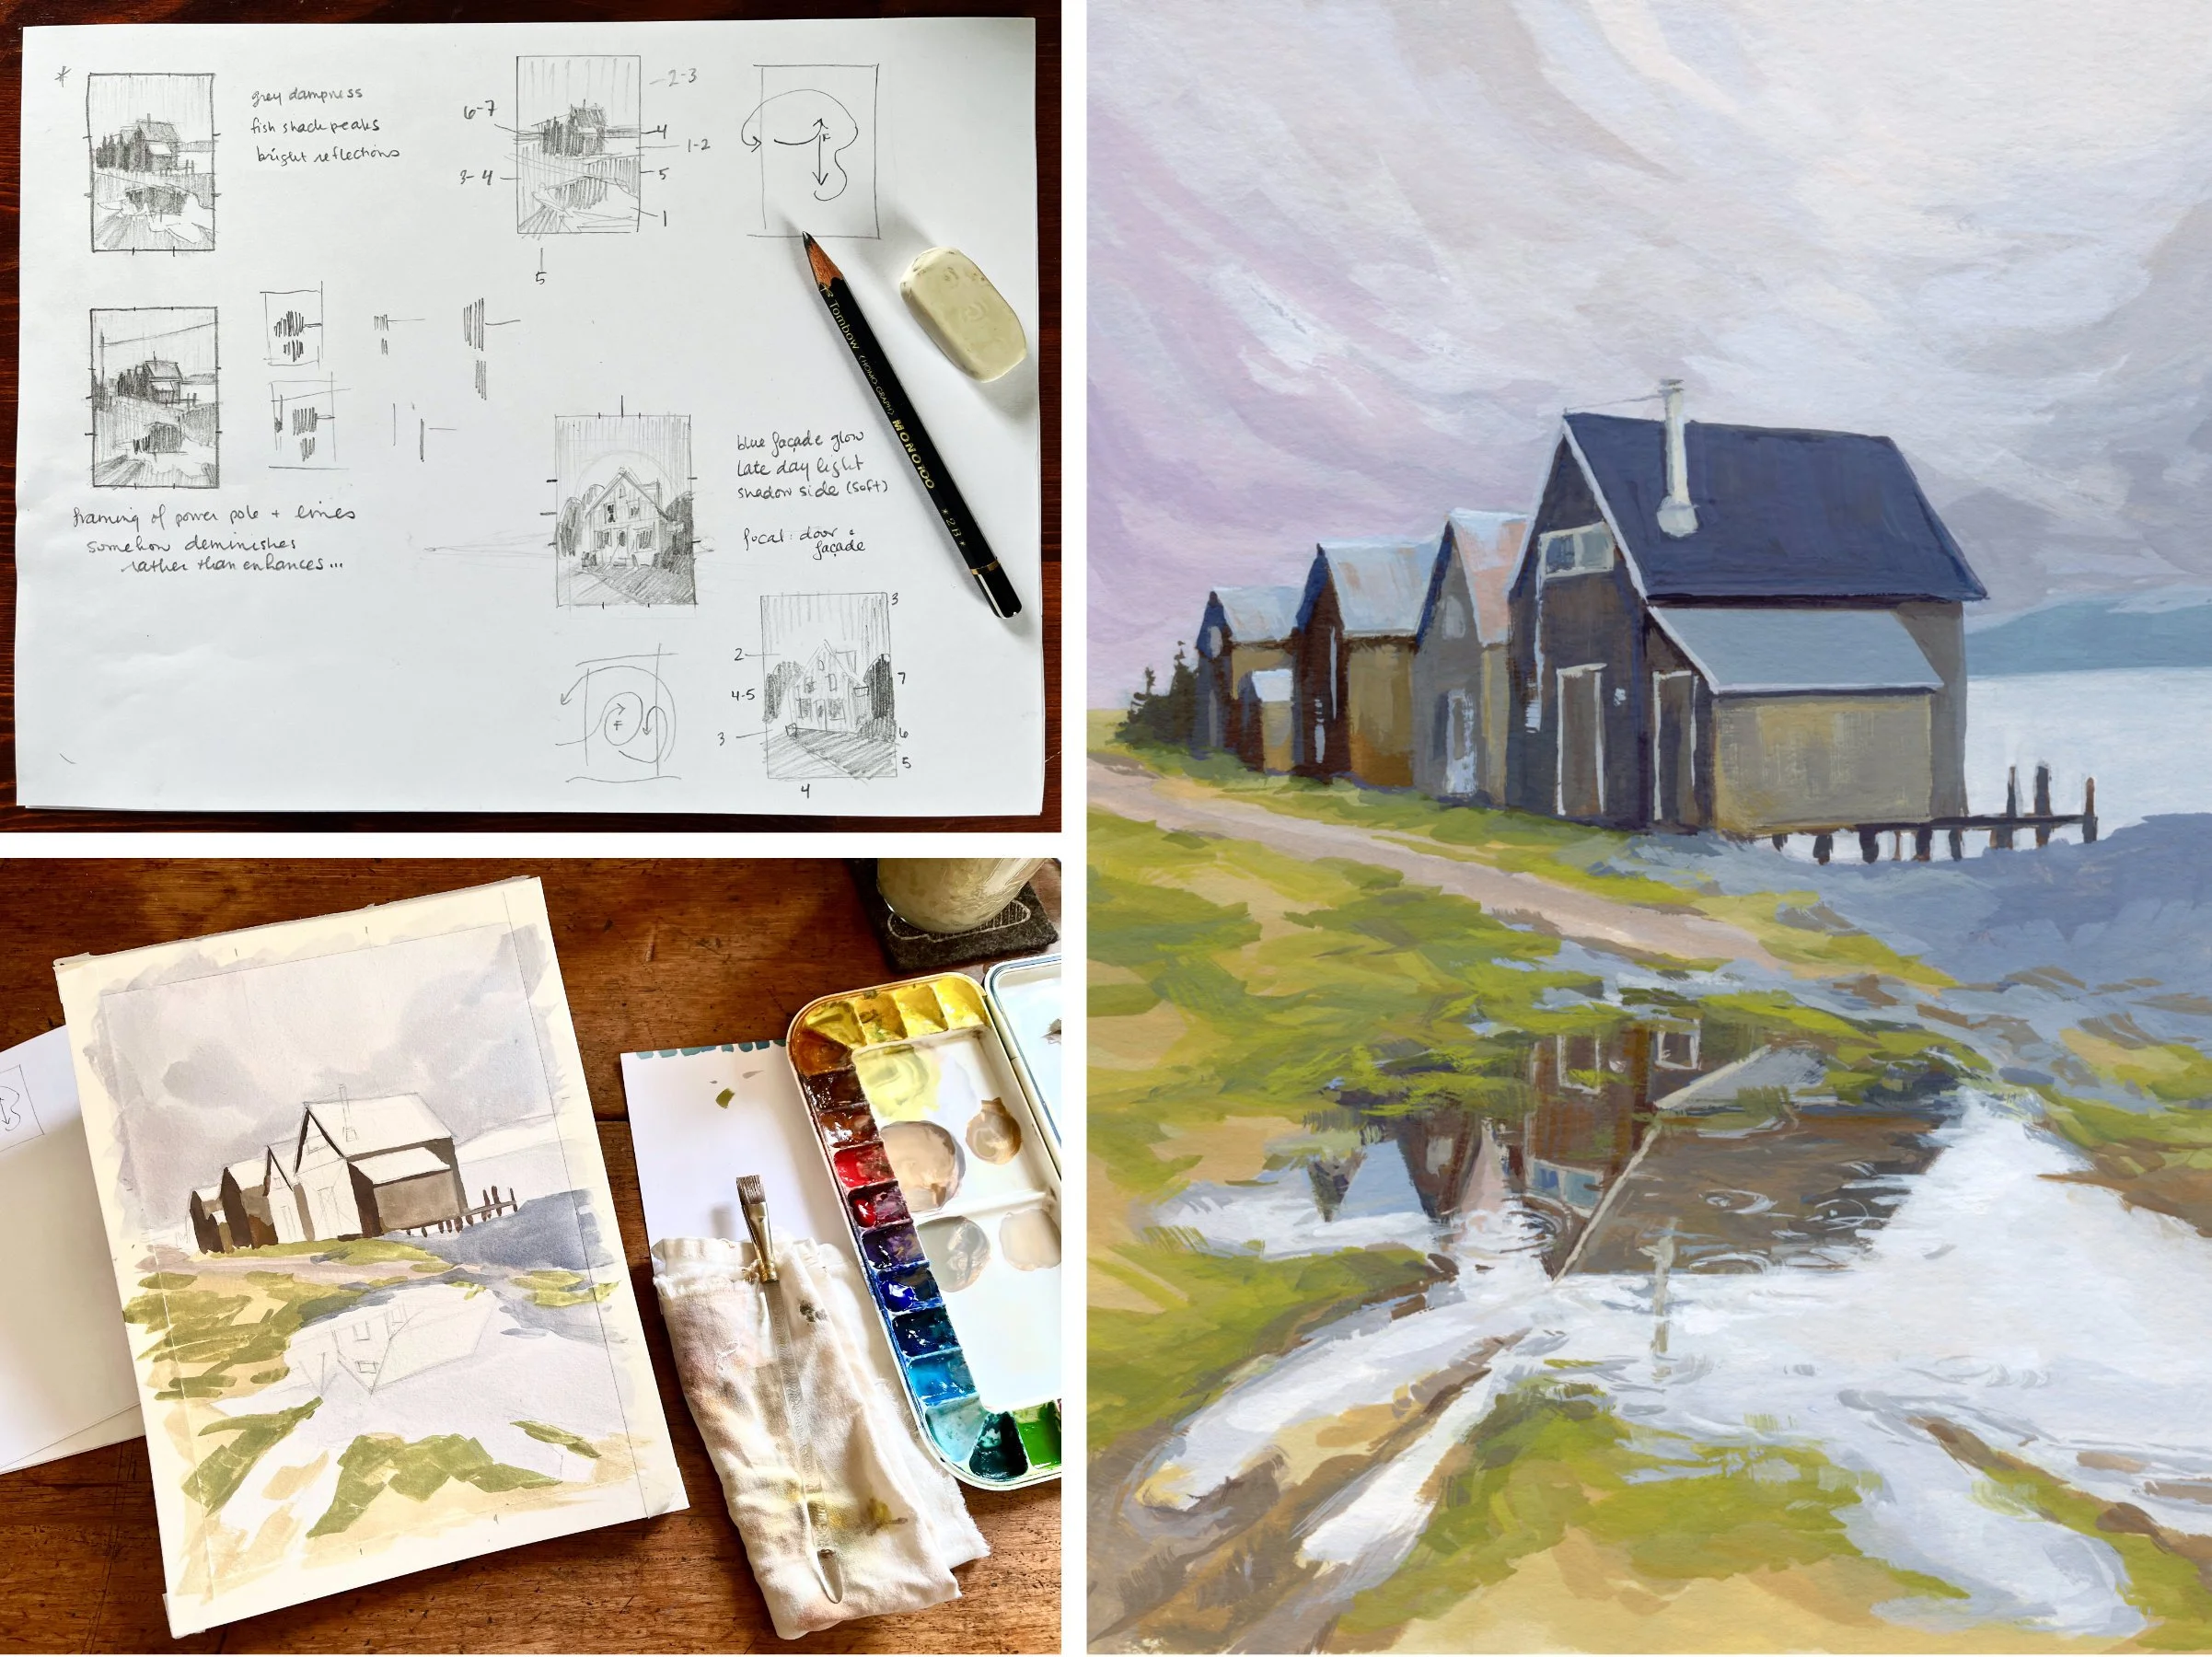
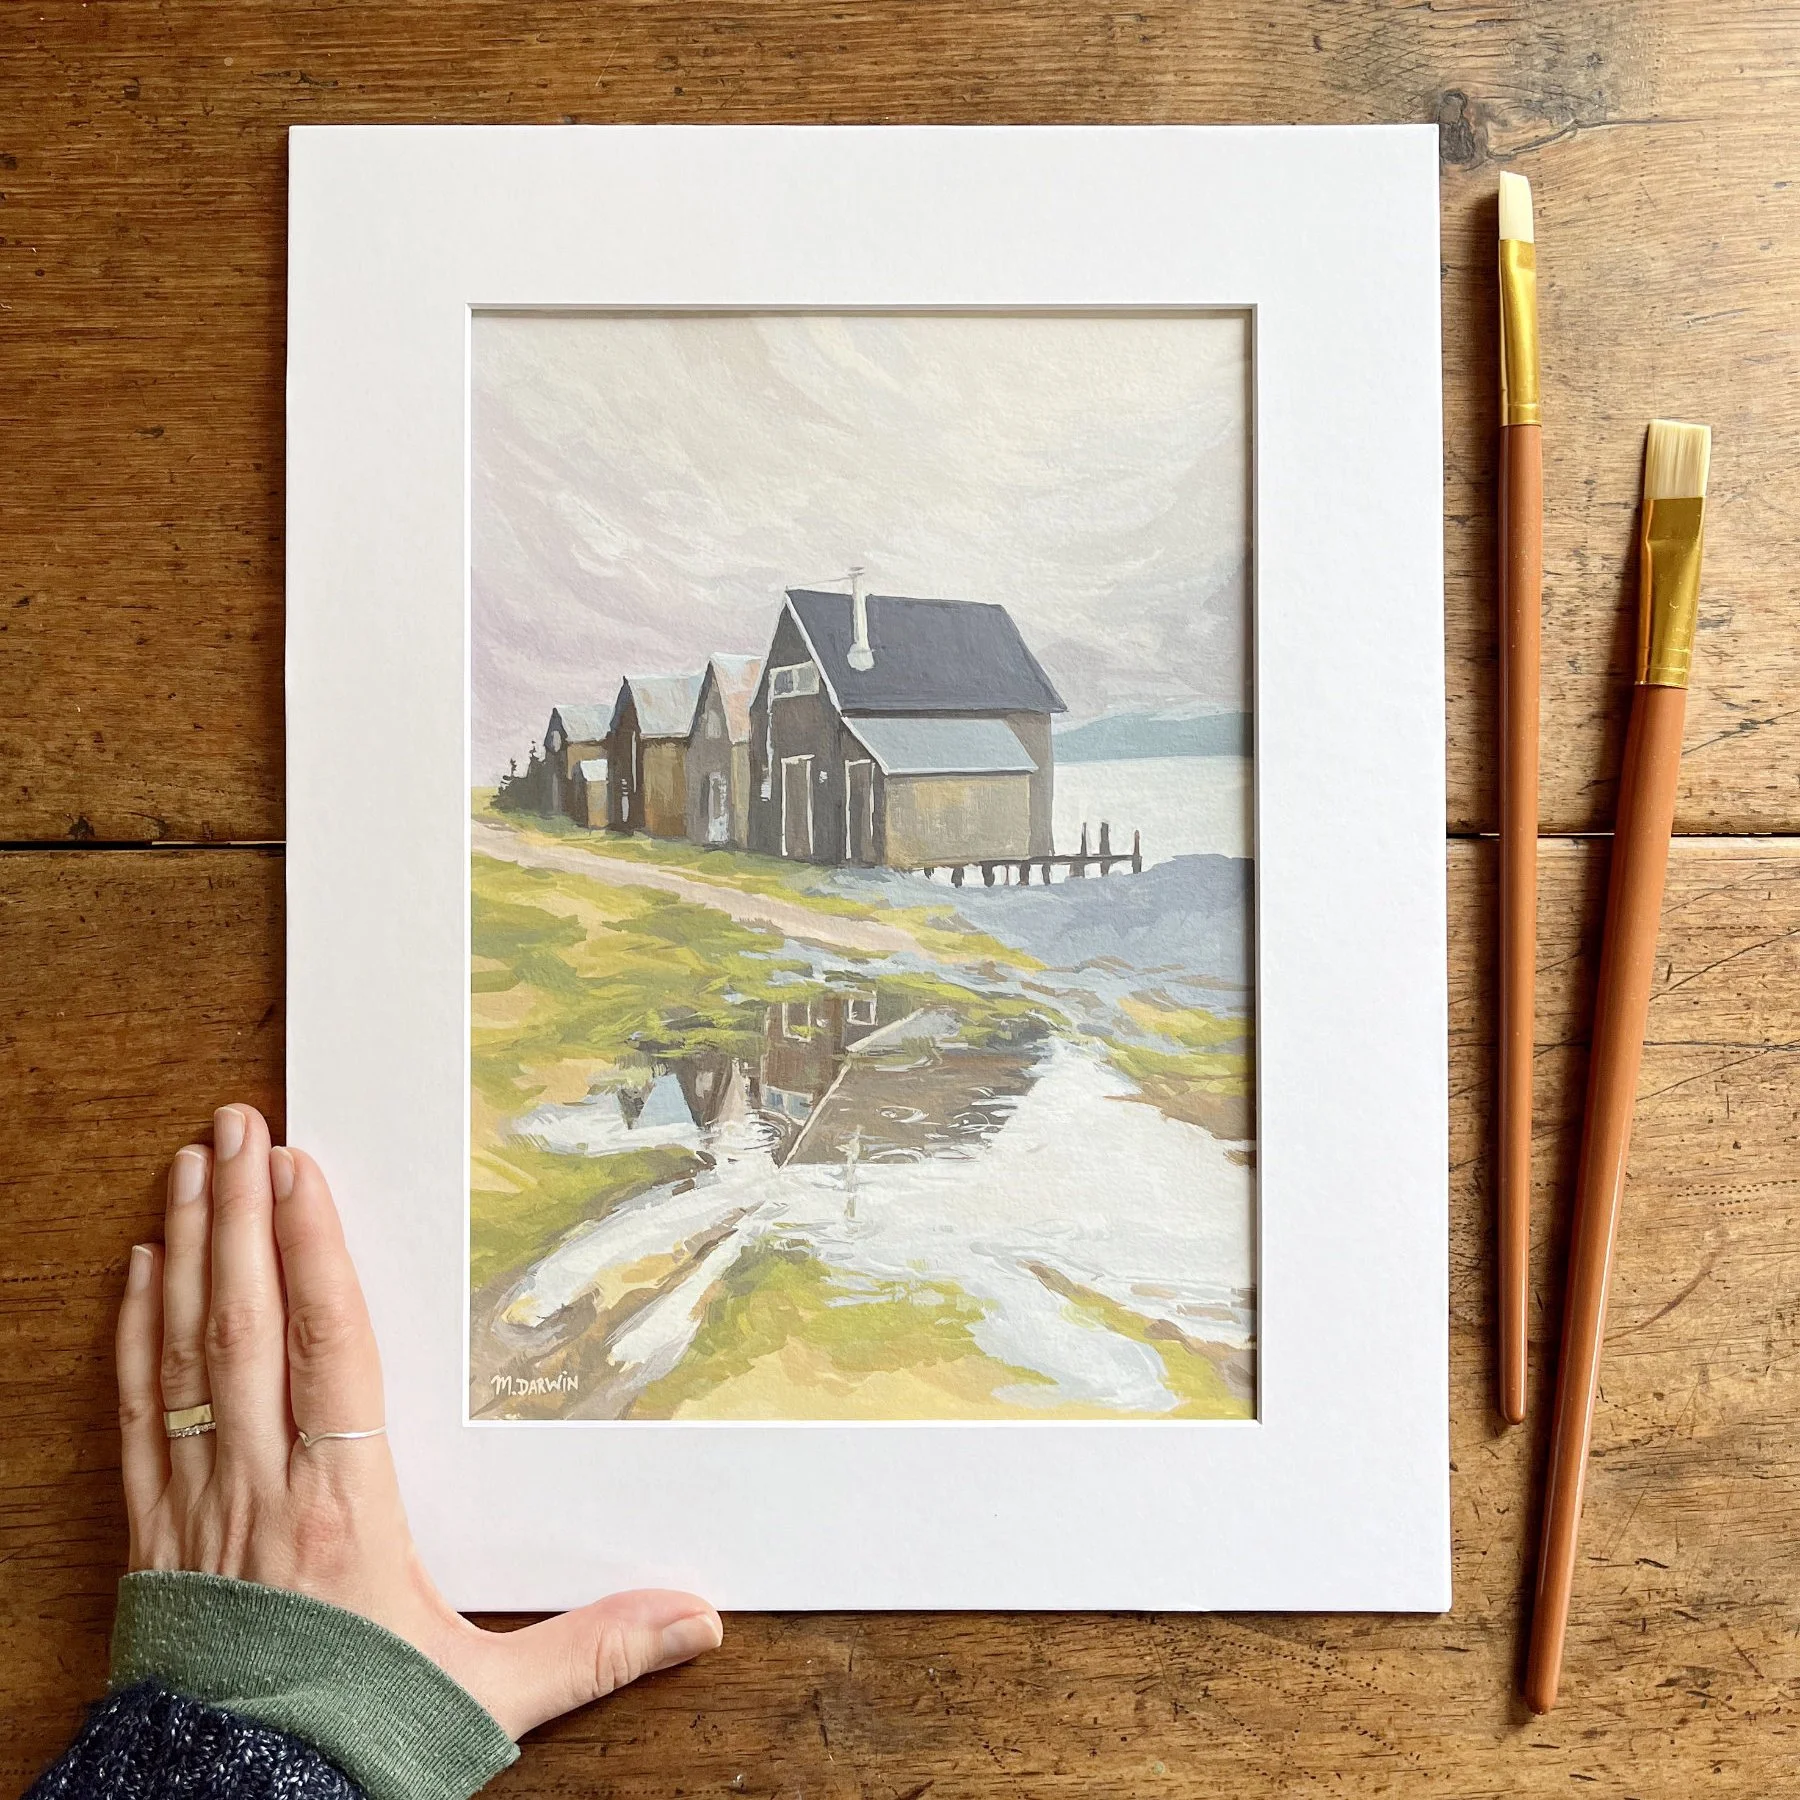
A process shot of Rainy Day Fish Shacks. More photos of this one, below.
This has happened to me a number of times over the years. Nightfall at Ocean’s Edge (below) was one of those pieces for me, and I finally think I have seen the pattern enough to figure out some things…
In every instance, I had (1) a clear idea of what I wanted to create and – more importantly, (2) a very strong feeling about the subject.
I remember well the nighttime walk that I captured in Nightfall at Ocean’s Edge. I walked for about an hour after dark one warm and calm summer evening, simply looking at the houses in the village and listening to the quiet rhythm of the ocean. The importance of the memory and associated feelings are why I write stories to accompany my finished paintings. The painting can convey much – but the other senses are important, too!
I don’t often paint or draw in the moment, but I do sometimes take video/audio, photos, or notes to remind myself of colours or sensory experiences.
In this case, I took a few quick snapshots of the scene which I later used to create the finished painting. They would never win any photo awards, but when I pulled them out several months later, they served their purpose perfectly – which was to bring me back to the feeling of the walk itself – and give me a framework upon which to place that feeling.
I took a few quick snapshots… when I pulled them out several months later, they served their purpose perfectly – which was to bring me back to the feeling of the walk itself – and give me a framework upon which to place that feeling.
I sketched a few thumbnails to work out my ideas and come up with a composition. I made changes (moved a streetlight out of the scene, simplified the distant buildings, the mounds of marine grass…) in order to focus the painting on what was important to my experience of that moment.
It’s by tapping into that strong feeling, that I have created the pieces that resonate with me the most over the years. On many occasions, I come across a photo reference later on and am startled by how plain it seems in comparison to the painting that came out of it.
ABOVE: The thumbnail sketching process for Nightfall at Ocean’s Edge. Top right, is my chosen thumbnail. It may look like scribbles to someone else, but I was super excited when looking at it and felt the night air of that time and place. Noted next to the thumbnail are the top three things I wanted the painting to be about. Below that is a note about the values I wanted to keep each area to.
My Studio Painting Process
I find it invaluable to place some constraints at the start of a project. I typically choose one or two aspect ratios and a few sizes for the project. I also come up with a methodical process to follow when creating each piece, and keep my materials simple. This reduces decision paralysis and makes it more likely that I will actually sit down and paint.
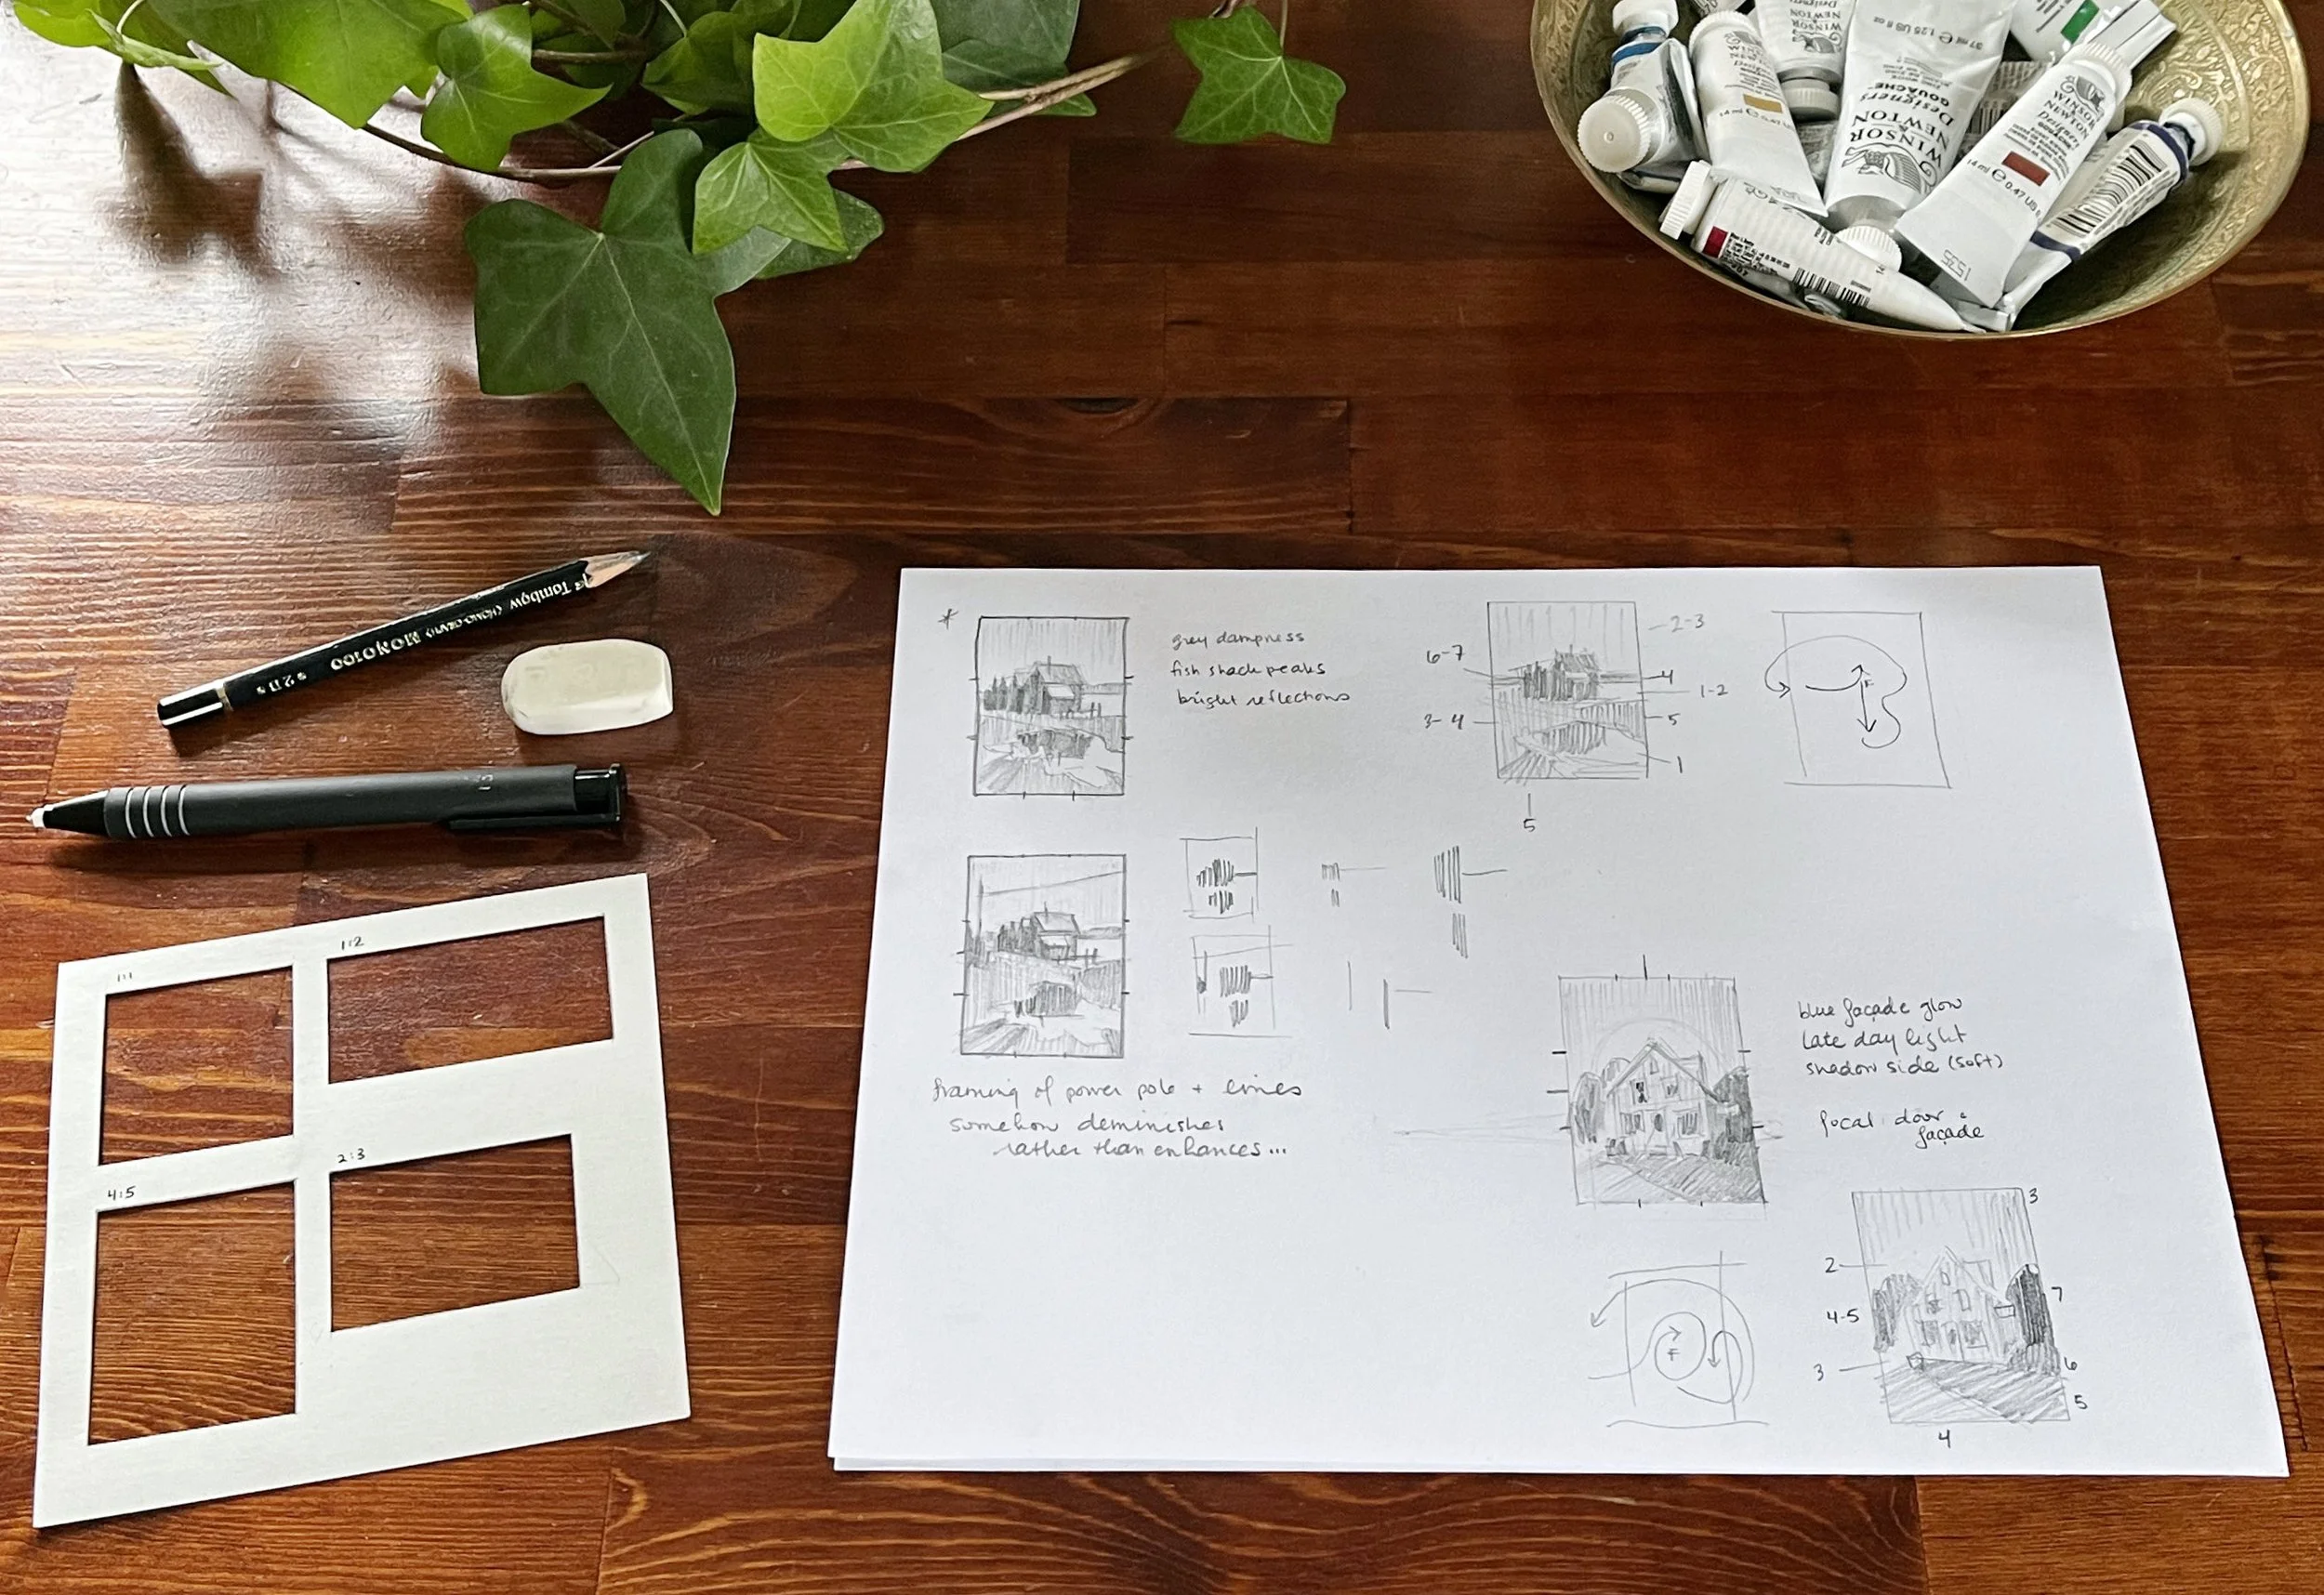
Thumbnail sketches and notes
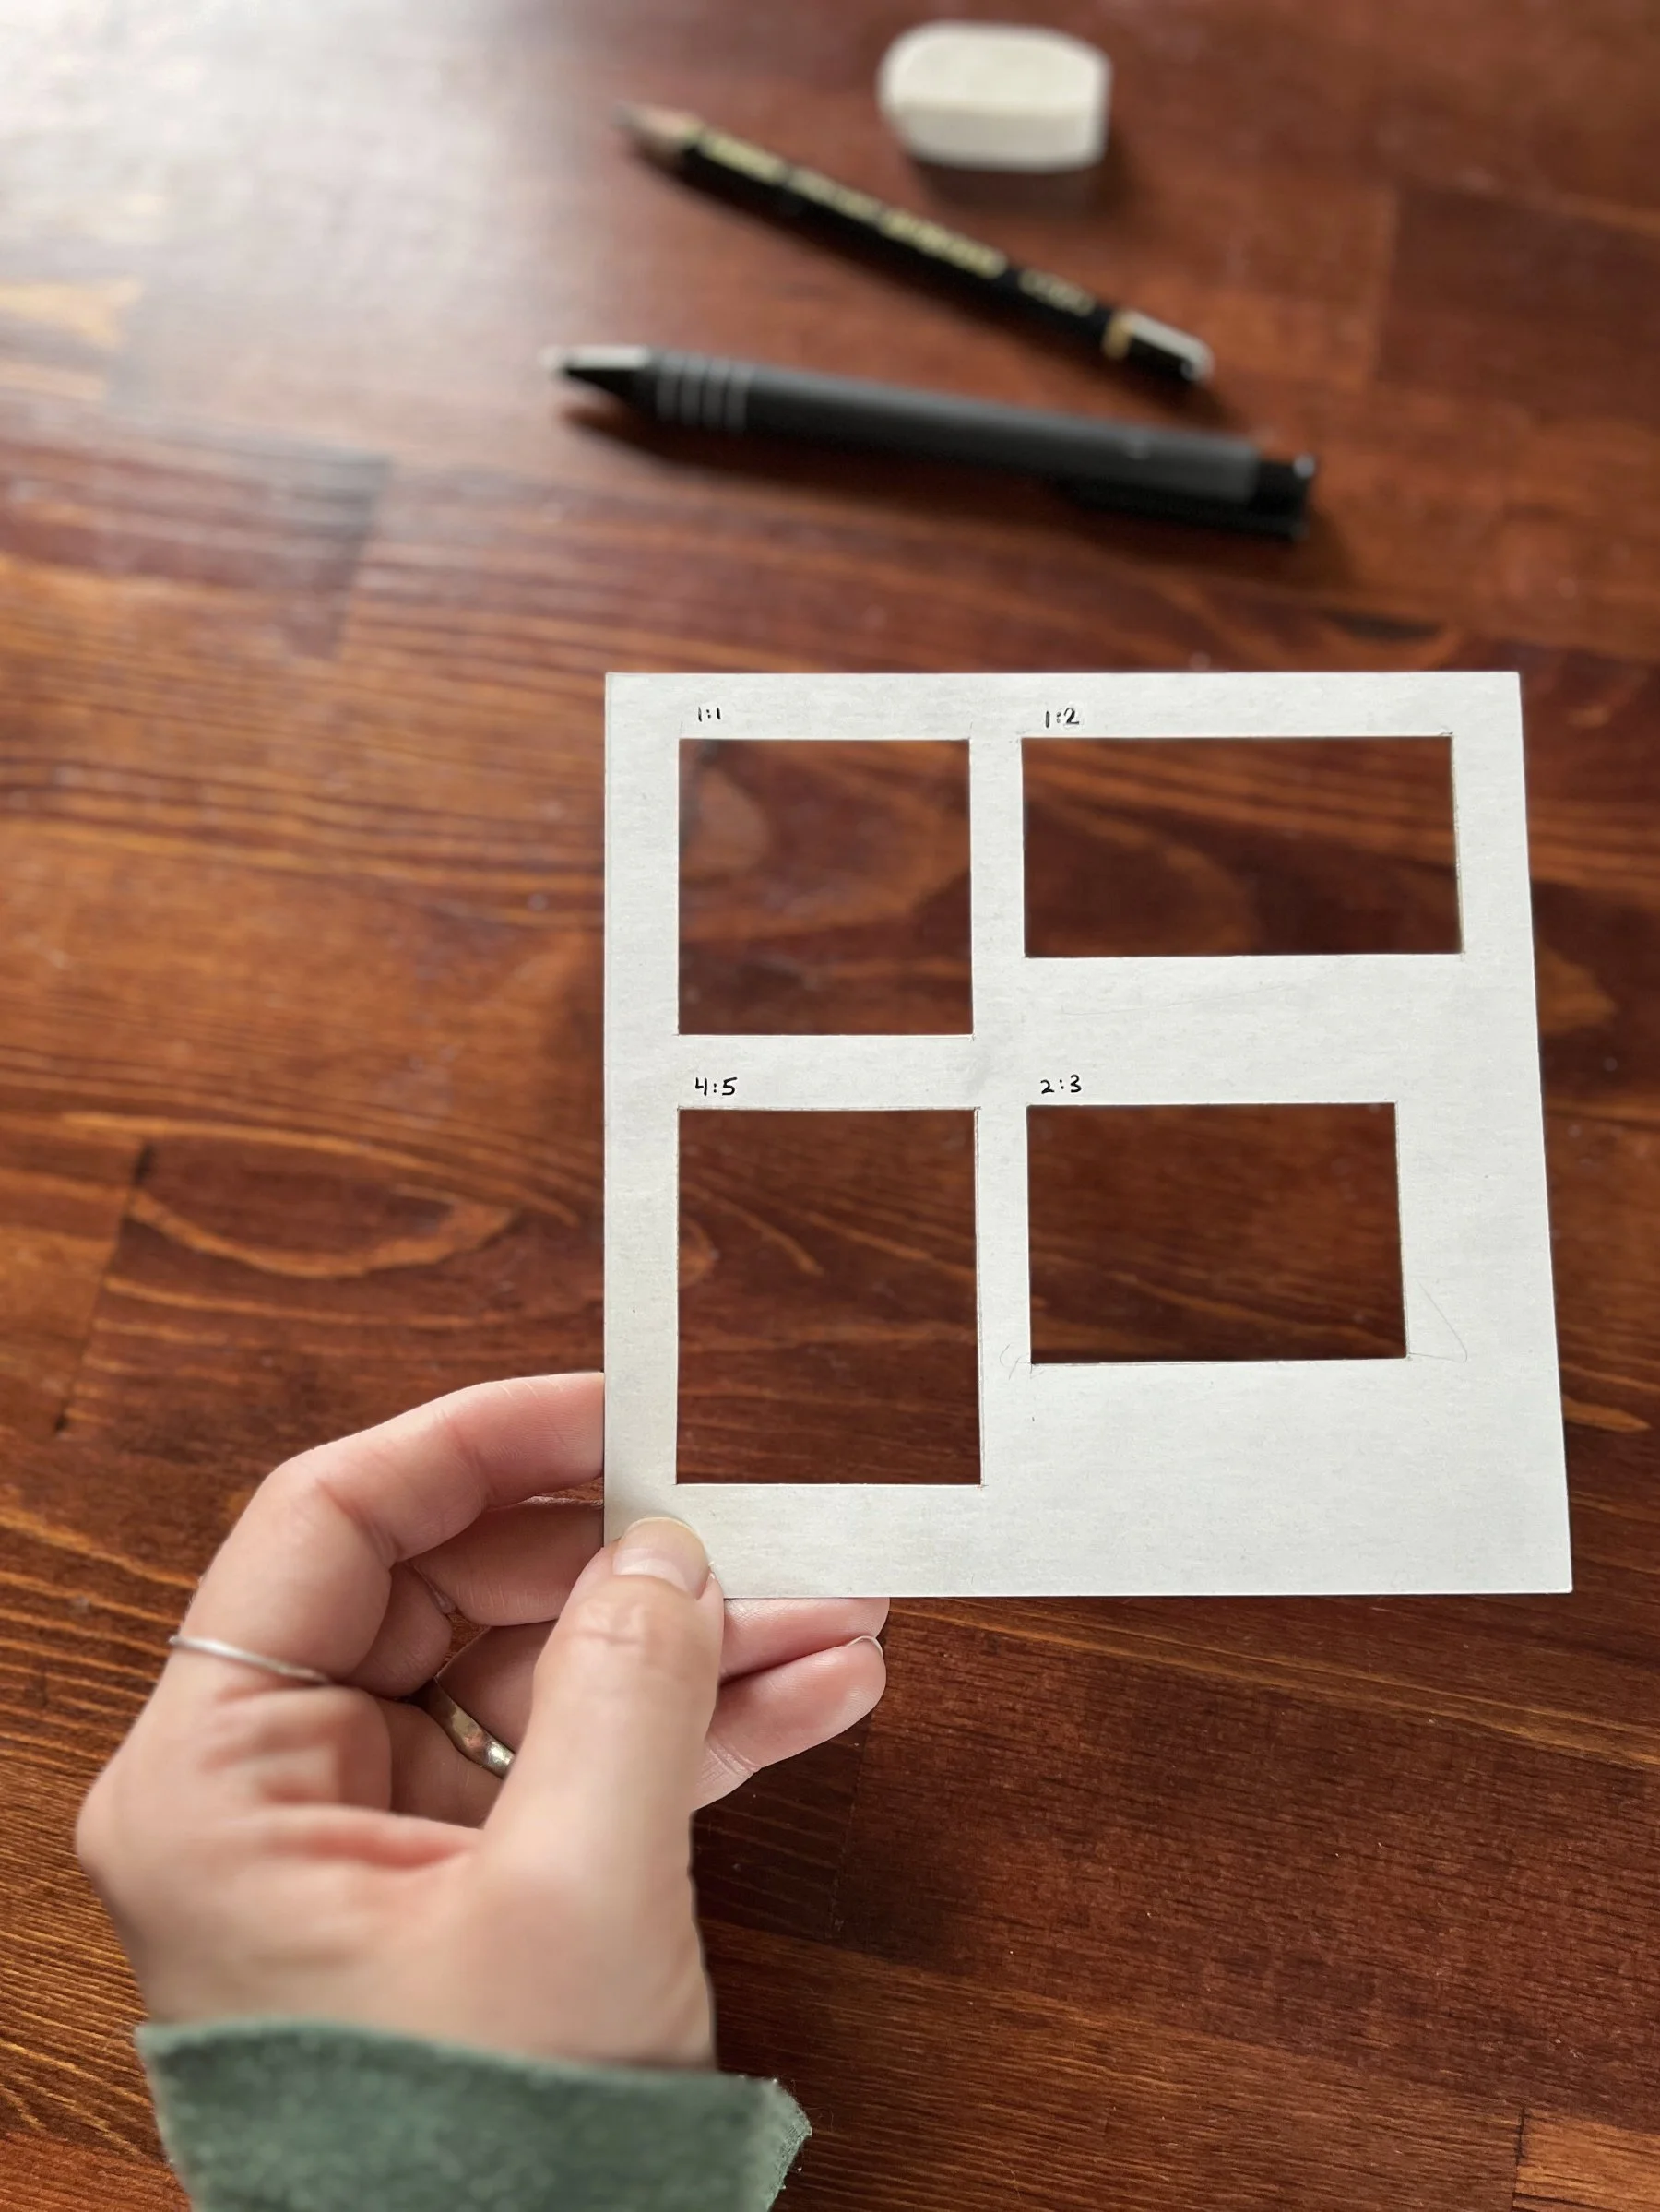
I followed this same thumbnail sketching process for every piece in the New Horizons Collection. These thumbnails helped me to chose between horizontal/vertical and the two ratios I chose for the series (1:2 and 2:3). I used a little cardboard stencil I made to quickly draw thumbnail frames in the desired ratios (more on this, below).
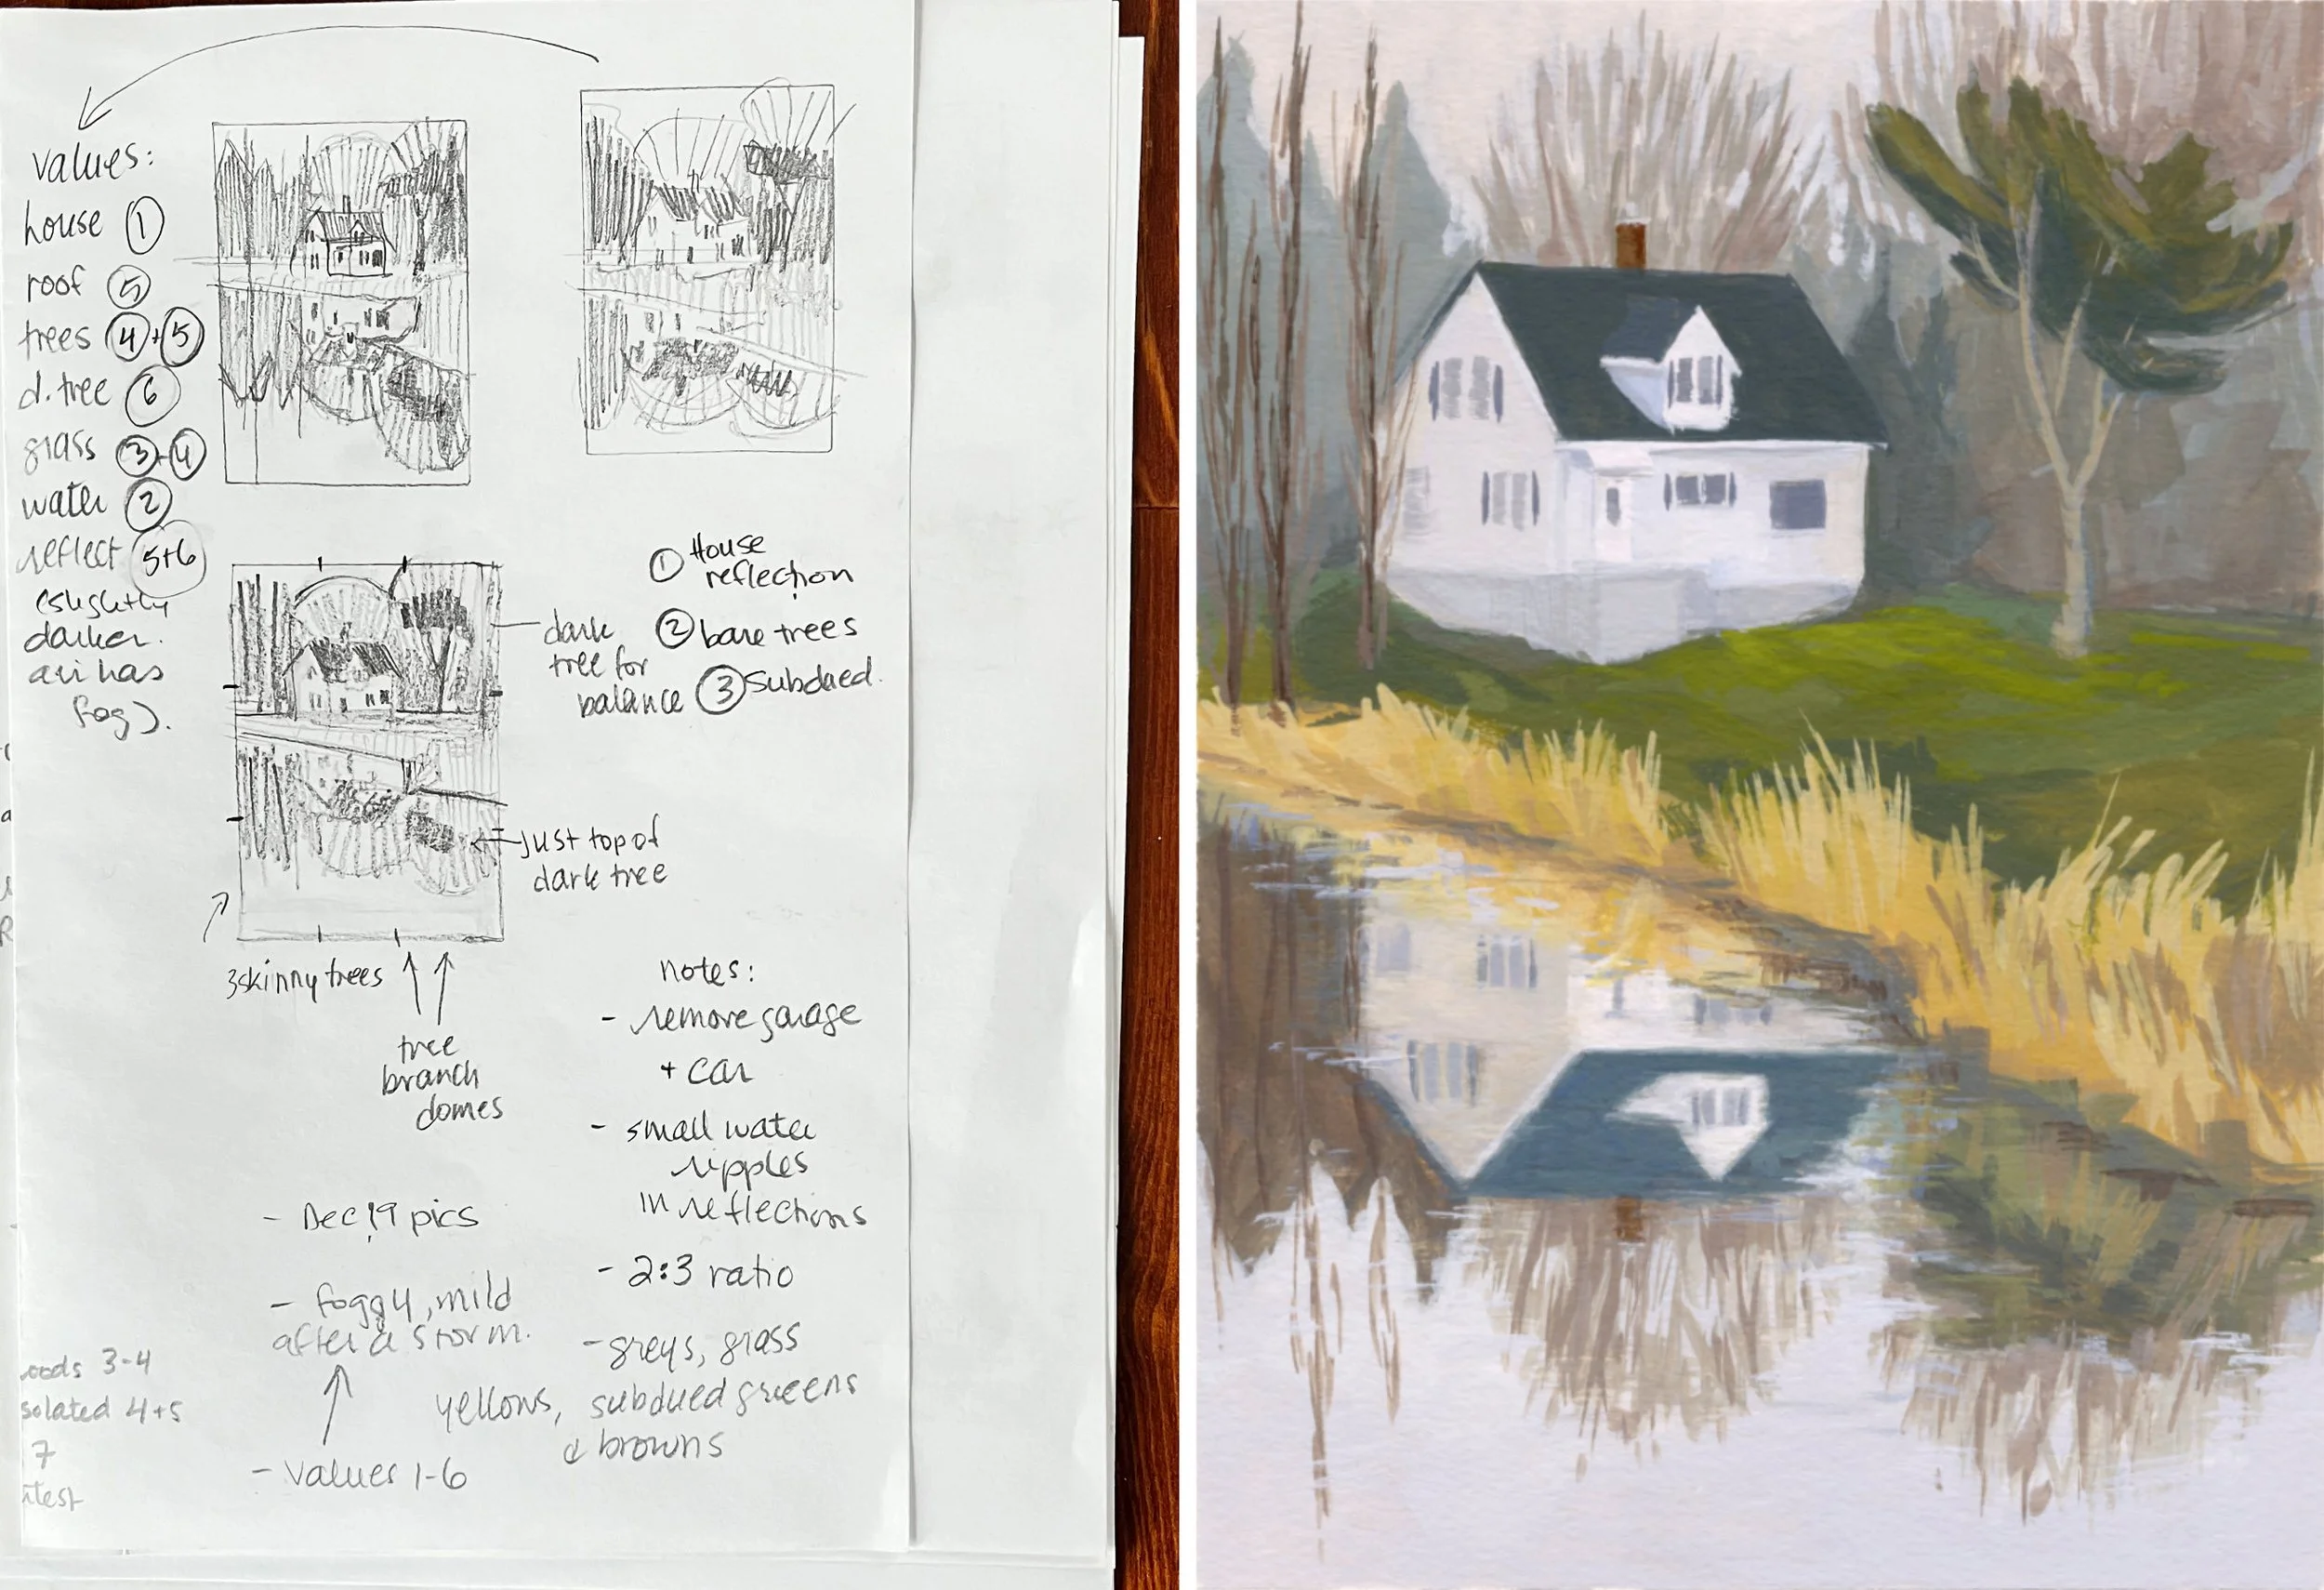
I then wrote out the top 3 things I wanted the painting to be about. I made some additional notes about where I wanted the eye to move, what I wanted to be the focal point, and what values I wanted to keep various areas to (I often adjust these for composition and harmony), as well as any colour themes or notes.
ABOVE: The thumbnail stencil I use to quickly draw a frame in the correct aspect ratio. I use that to sketch out some different crops or variations I’m curious about. Once I have one that I like, I will draw a little diagram or note the values of various areas, and draw a little line with arrows showing how I want the eye to move through the finished painting.
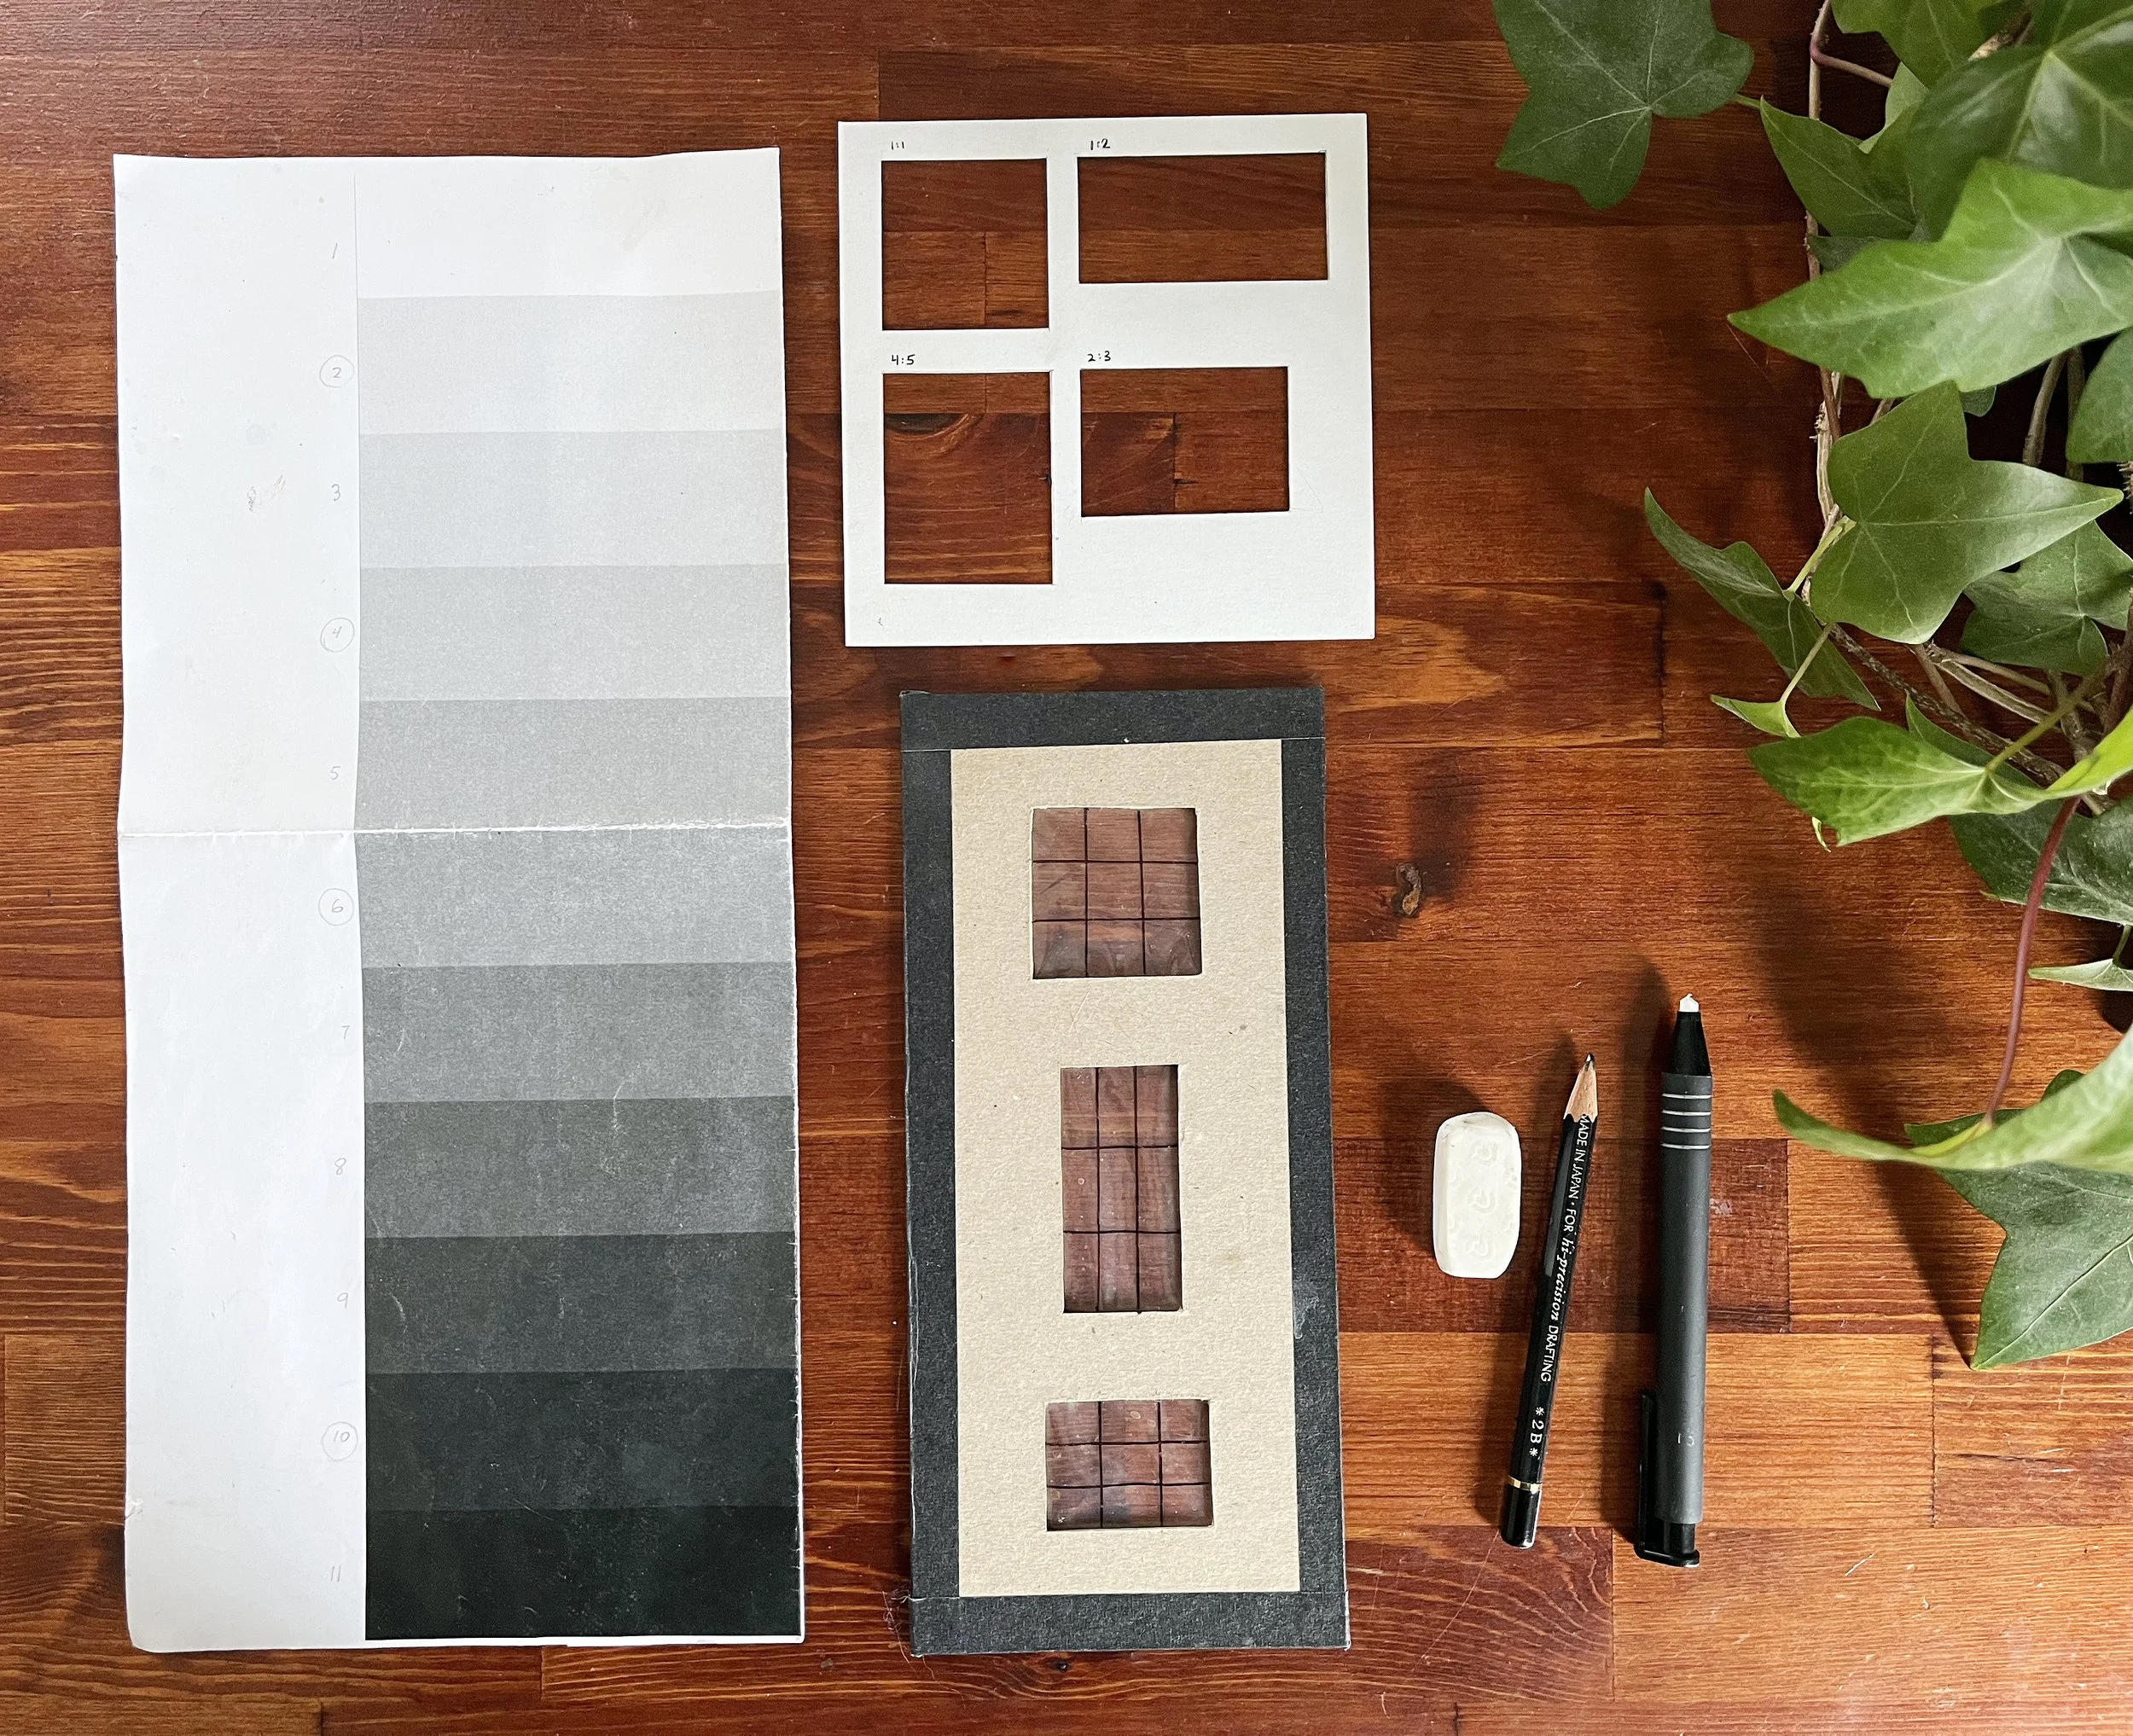
A few simple tools are all that’s needed…
ABOVE: My simple go-to tools. (1) A value scale I got in a workshop years ago. (2) My thumbnail ratio stencil. (3) A composition tool I made after reading Ian Robert’s book Mastering Composition. I have used this tool SO MUCH over the years to both crop a scene and also to translate it to my sketch/painting using the simple grid to help get angles and composition right. (4) A pencil with B or 2B lead that allows me to quickly draw in dark and light areas without switching tools.
ABOVE: My handy thumbnail ratio tool. I measured and cut out common ratios, so that I could quickly trace a thumbnail frame without needing to measure anything.
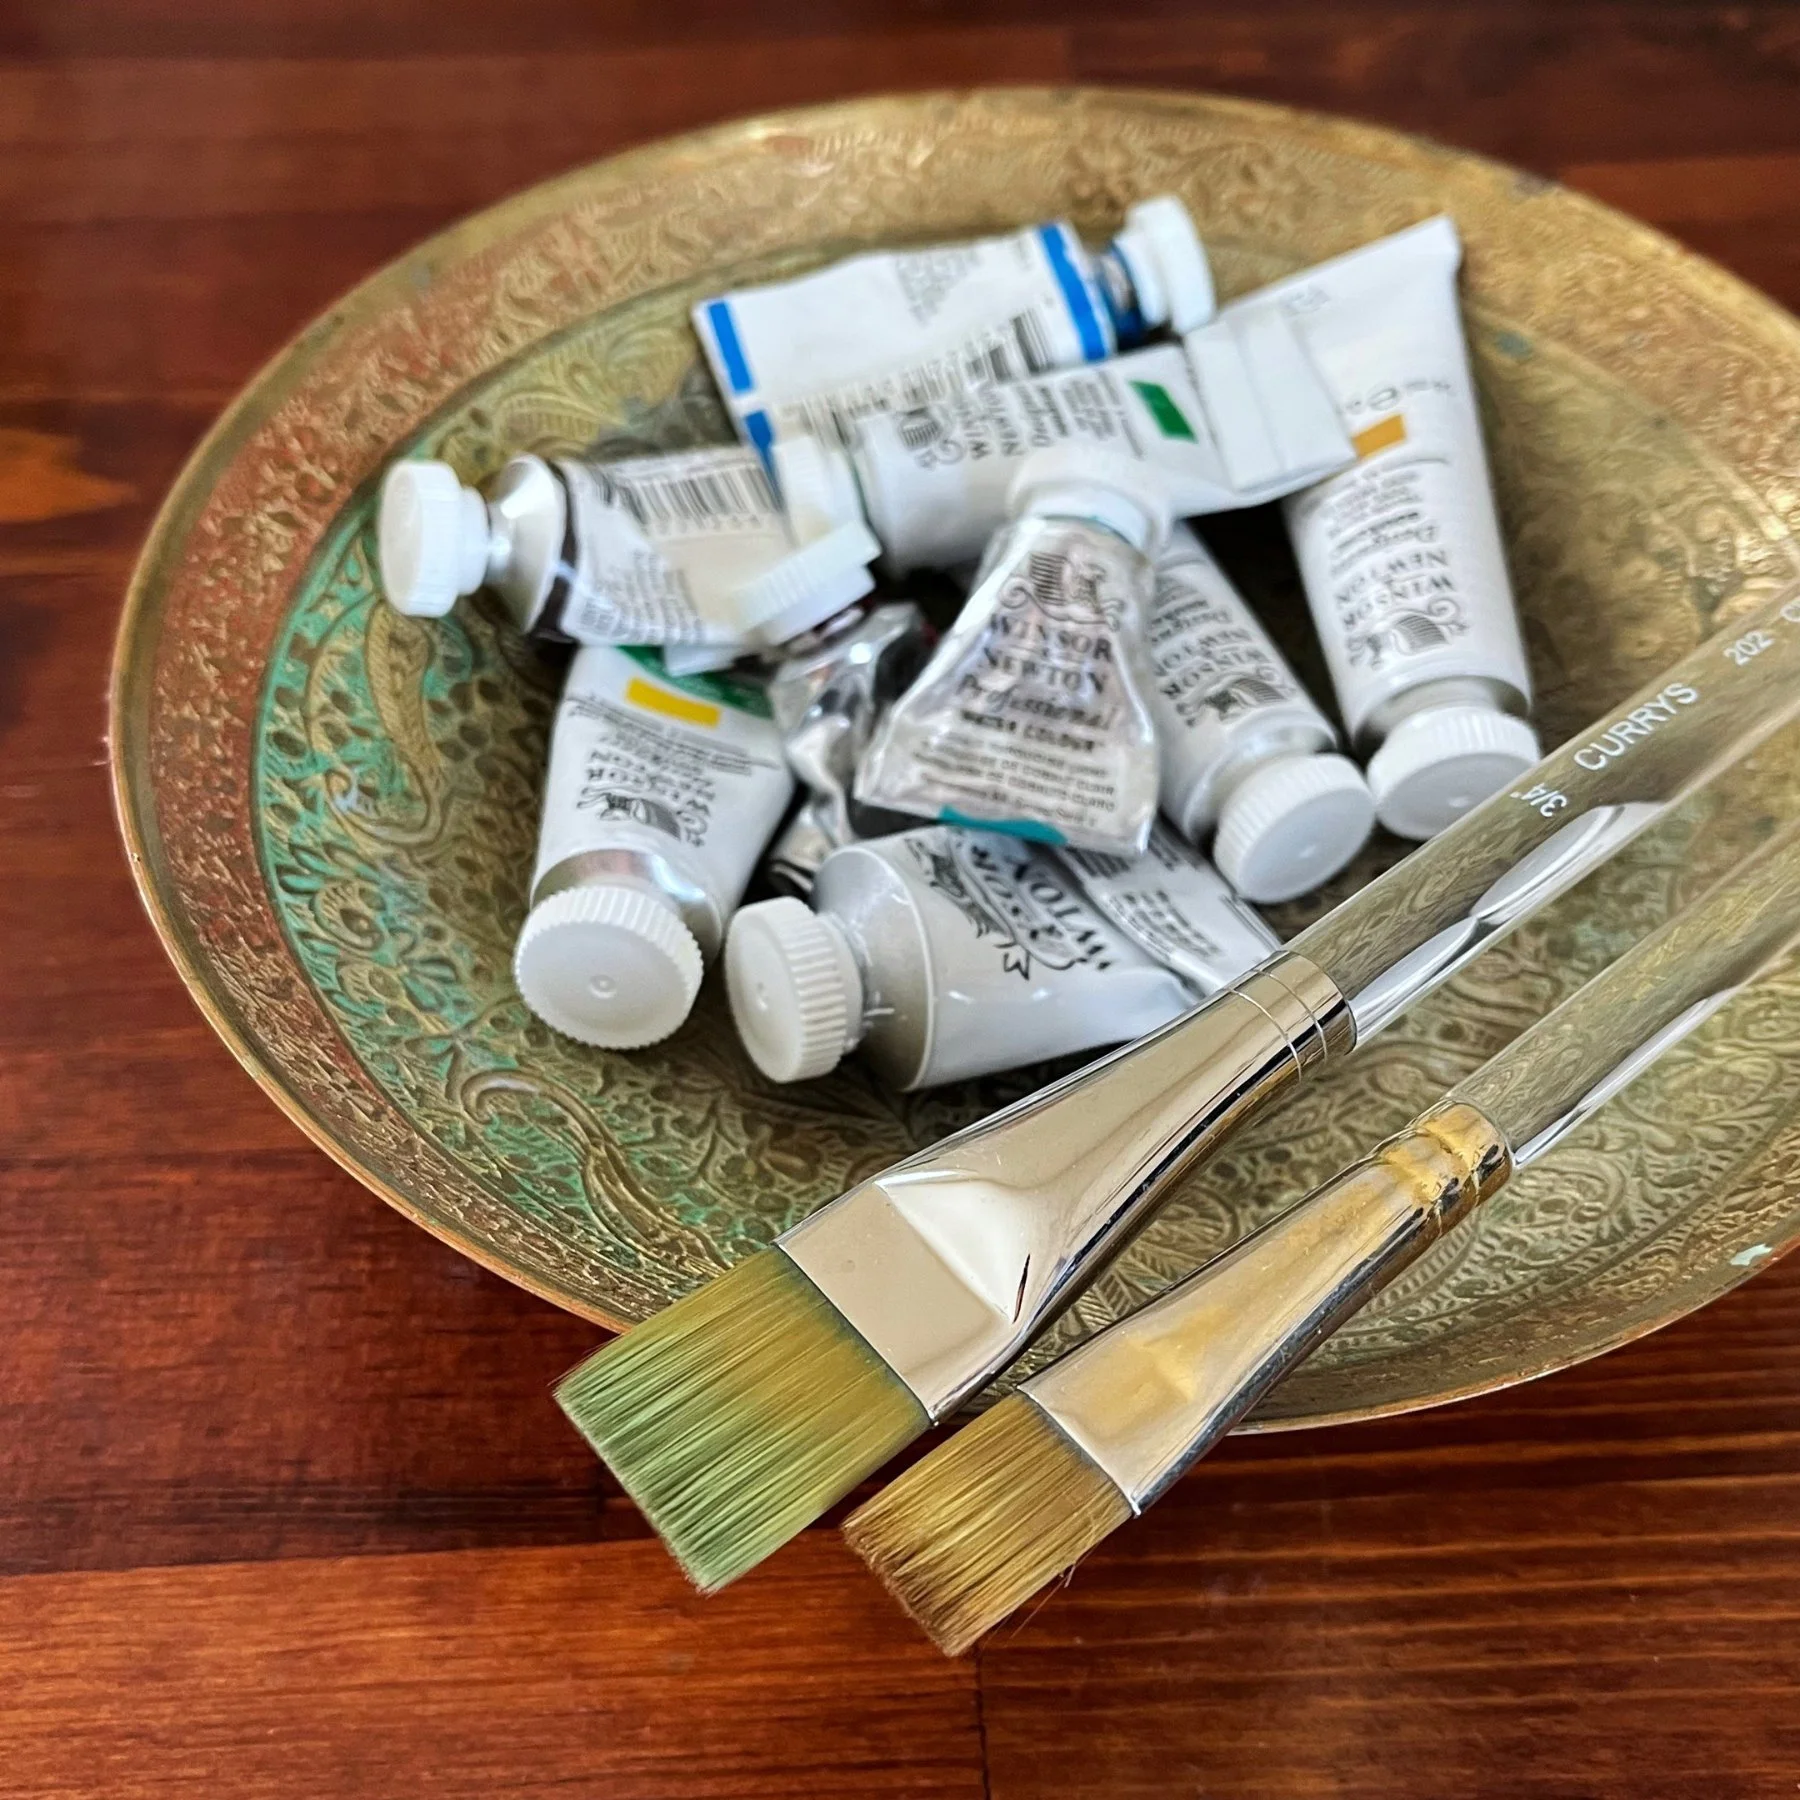
ABOVE: My favourite brushes are wide flat brushes. I do most of my painting with these. I can fill large areas, make sharp lines, or use the corners to make small dots and details. I use Winsor & Newton gouache paints.
From sketch to finished painting…
Rainy Day Fish Shacks. New Horizons Collection. Gouache on watercolour paper, 7x10.5”
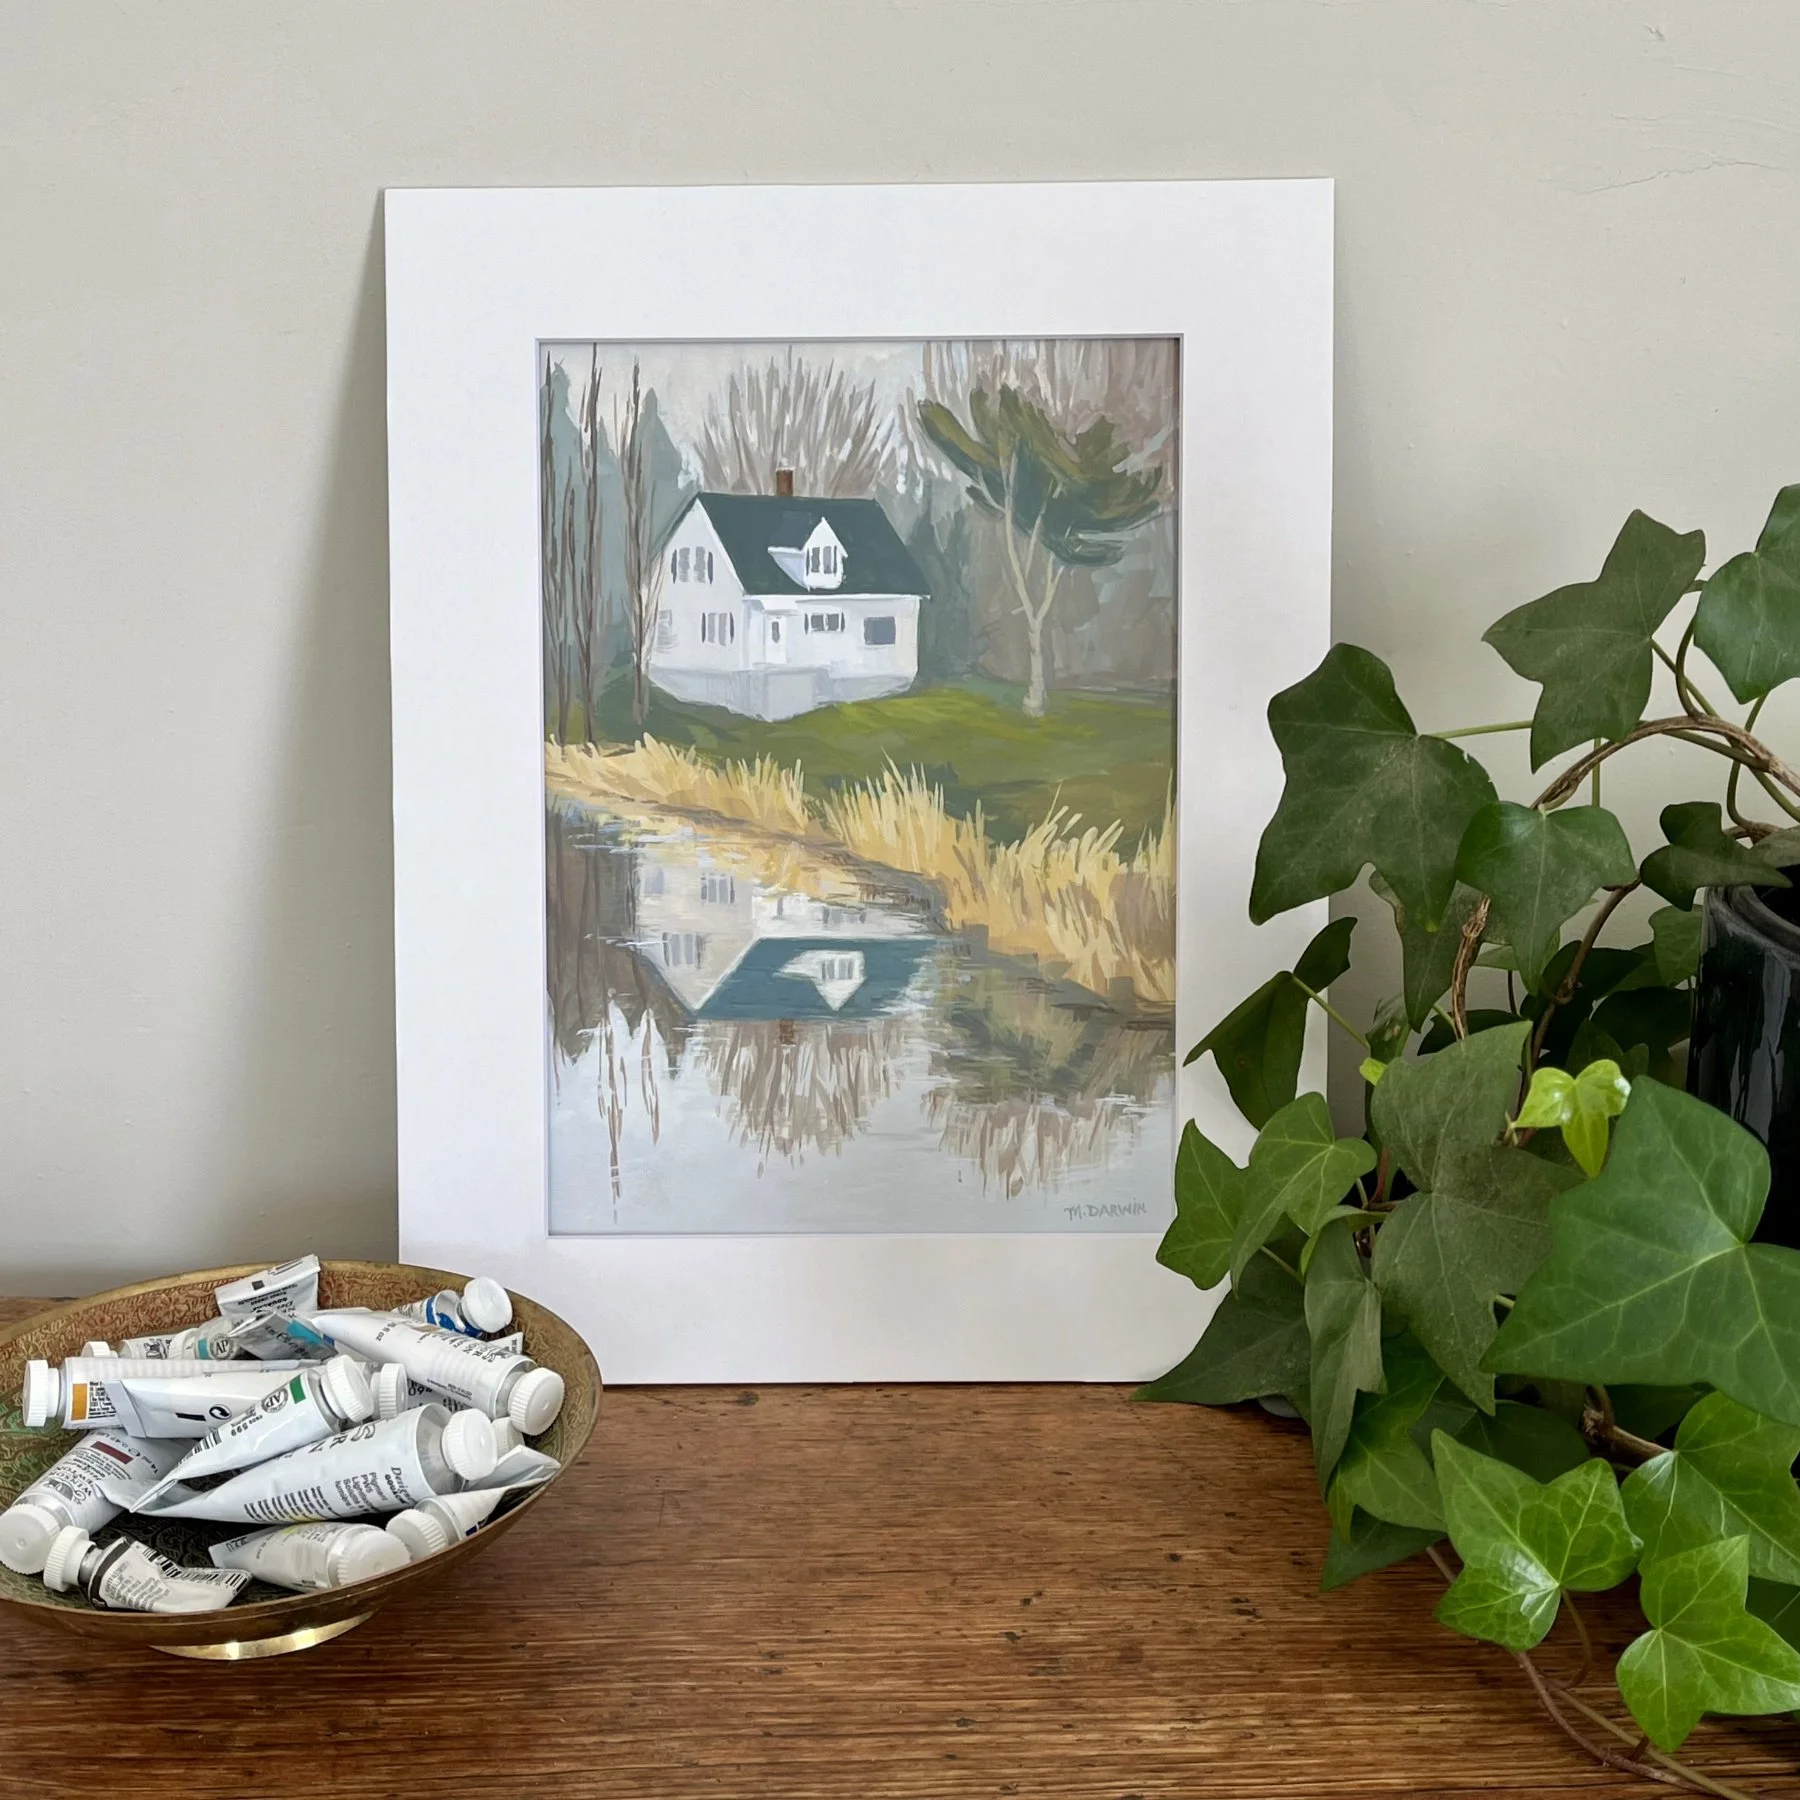
Marsh Reflections. New Horizons Collection. Gouache on watercolour paper, 7x10.5”
Bridge Over the Brook with Churches. New Horizons Collection. Gouache on watercolour paper, 7x10.5”
Blanketed Under Fresh Snow. New Horizons Collection. Gouache on watercolour paper, 6x10.5”
Ready to go to their new homes!
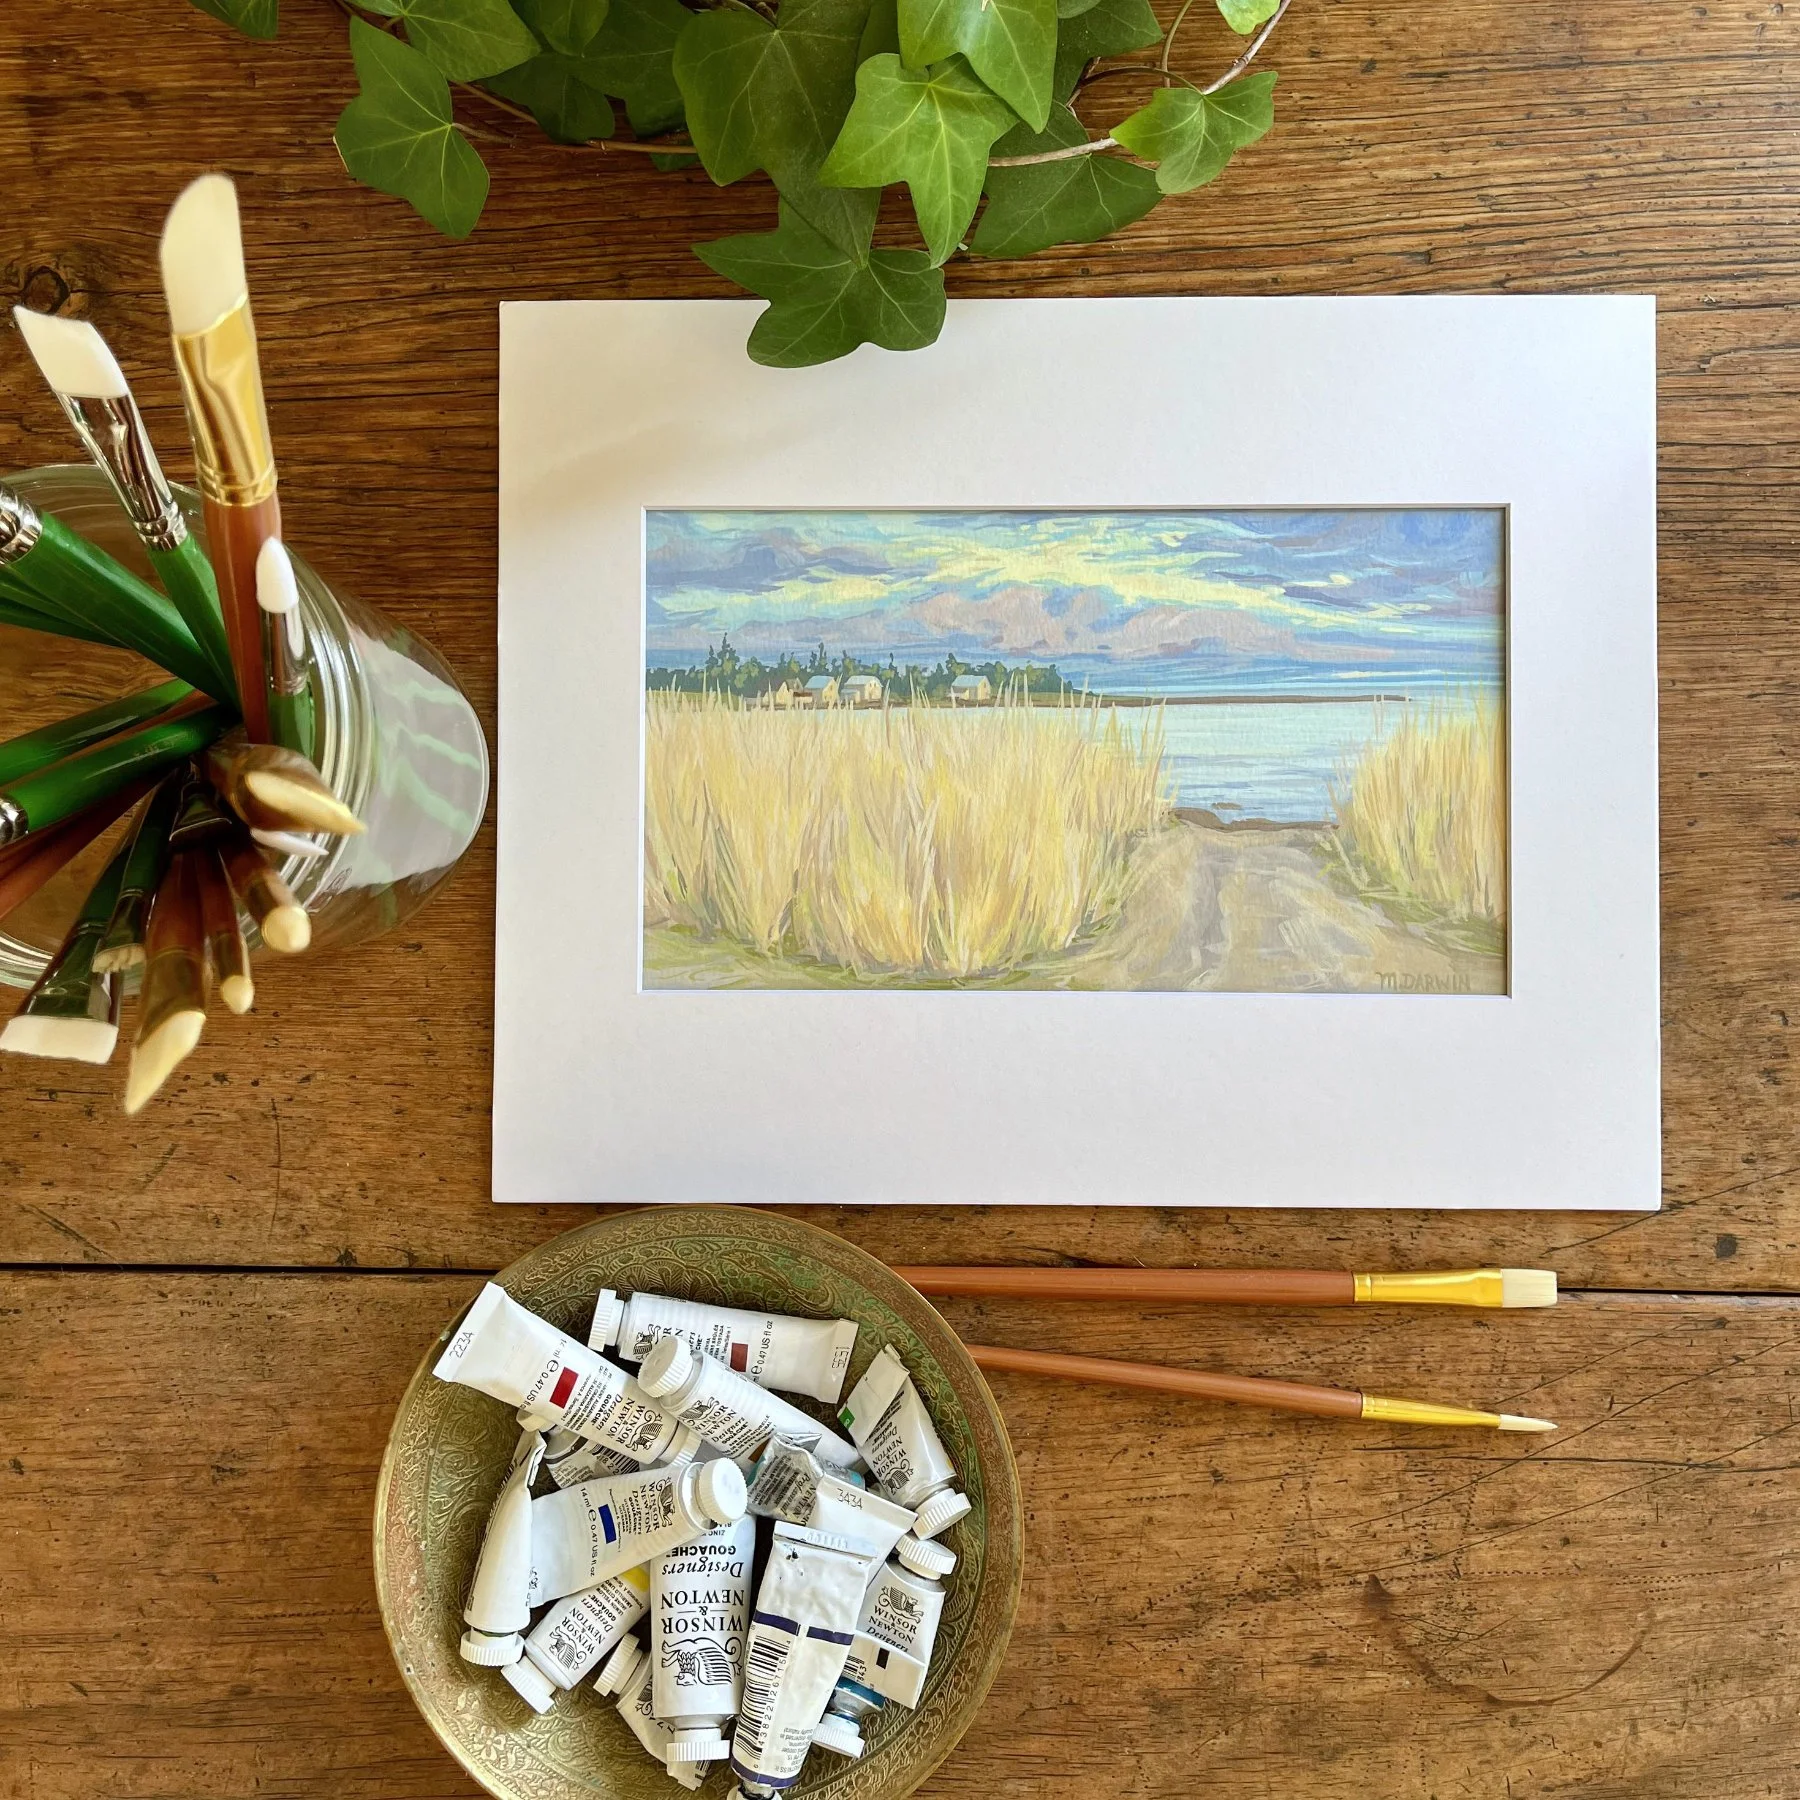
All paintings in the New Horizons Collection were made with gouache on watercolour paper. Each piece is custom matted and ready-to-frame. Below, are a few sold pieces being matted before heading to their new homes.
COLLECT ORIGINAL ART: You can view available original paintings in the shop.
Artist’s Note:
I follow a different process – and use slightly different tools – when painting from life. See behind-the-scenes of how I paint from life on the blog, along with some new work!
Join the Studio List for tools to help you live your most engaged creative life, view paintings as they are created, and learn the stories behind the works. I share reflections on seasonal/coastal living and art making – as well as sources of inspiration – in a beautiful weekly letter. Those on this list are the FIRST to see and get access to new art.

